Working with GIMP
| Site: | ΕΛ/ΛΑΚ Moodle |
| Course: | Content Creation course - June 2017 |
| Book: | Working with GIMP |
| Printed by: | Guest user |
| Date: | Friday, 26 June 2026, 10:55 AM |
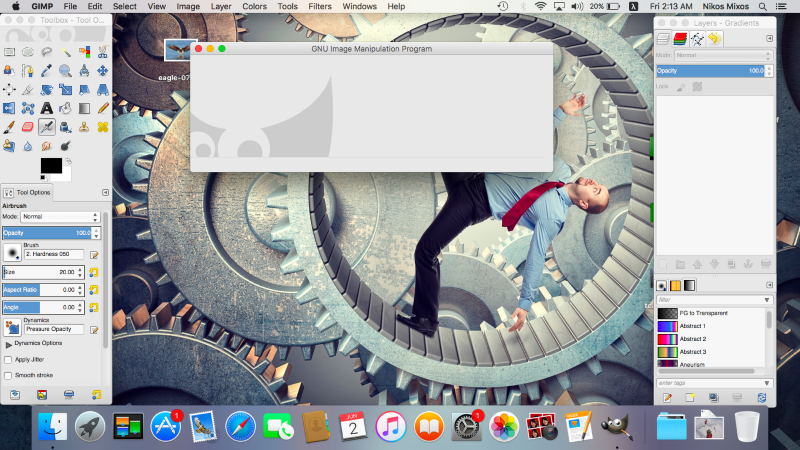
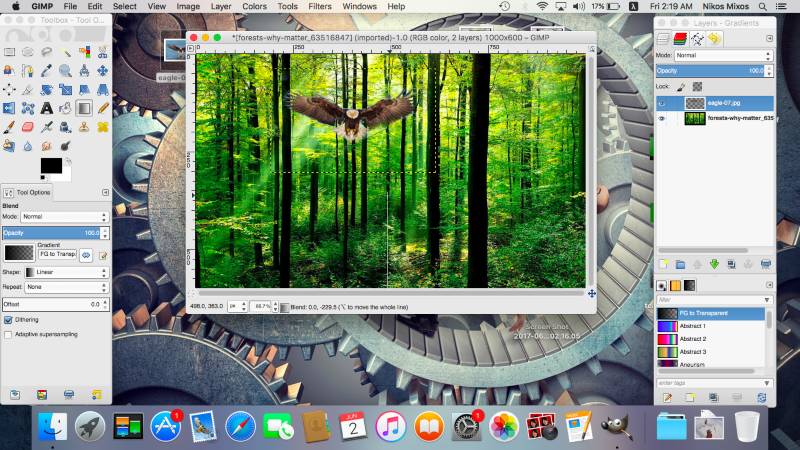
1. Launch GIMP
Launch GIMP application. On the left we see the tools, on the center is our canvas and on the right are our work layers.
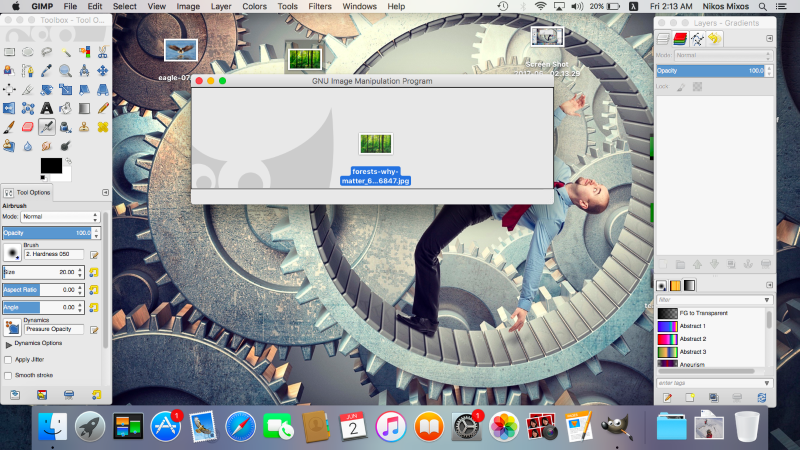
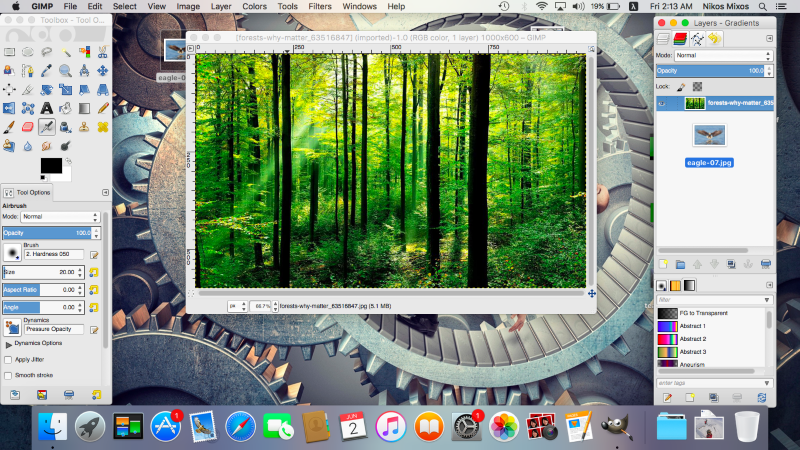
2. Import photos
Import by drag and drop the photos you have chosen. The one we want to see inside the other must be on top of the layer list.
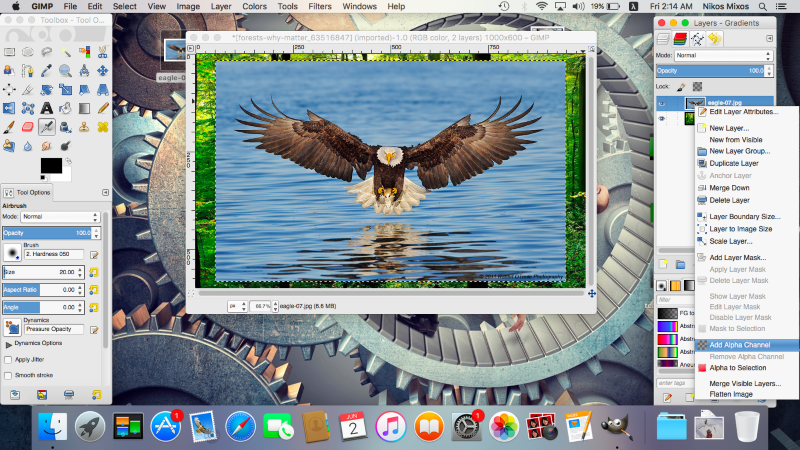
3. Enable alpha channel
In case we want to erase some elements out of one or more of the photos, we must be sure we have enabled the alpha channel.
4. Erase
We erase what is not needed using the eraser tool. 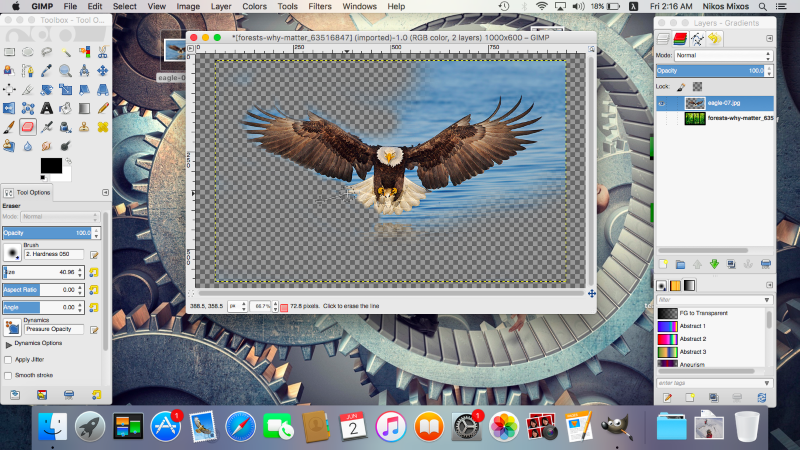
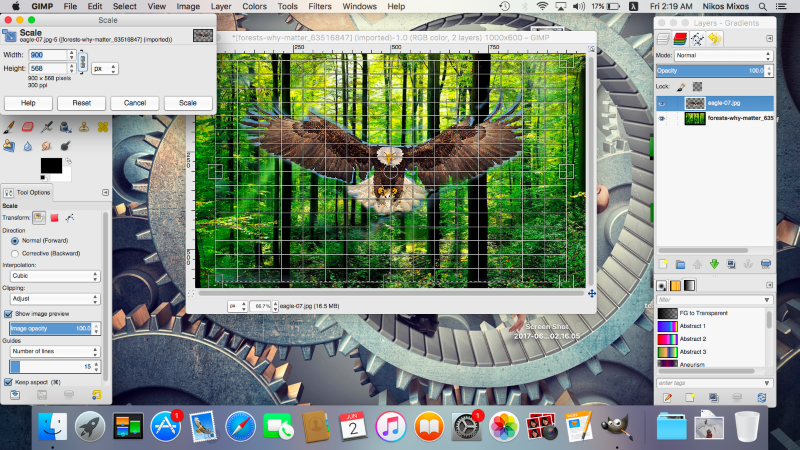
5. Resize
When we are done we resize our image with the scale tool constraining the proportions by linking the chain. Resize as needed or desired.
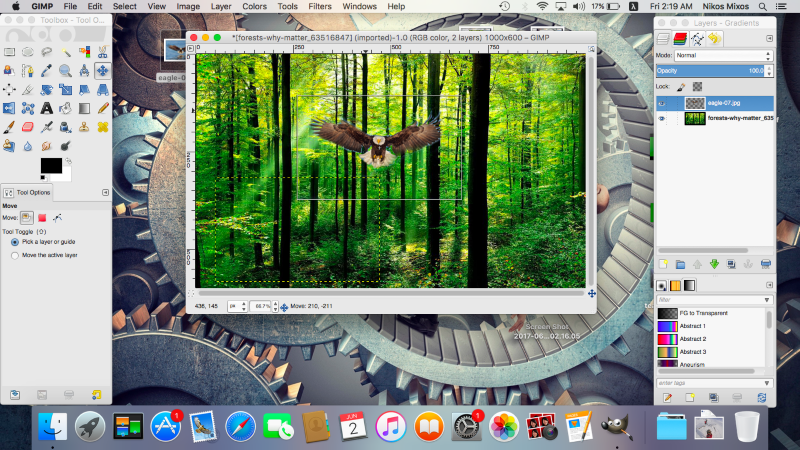
6. Move
Since we want to move our picture around the canvas to place it somewhere else on the background image, we then use the move tool.
7. Blend
If a shadow is desired, we can apply one by using the blend tool. We pick the FG to Transparent mode and set the opacity of the shadow. Then by clicking and dragging our mouse we draw the line on which the shadow will fall.
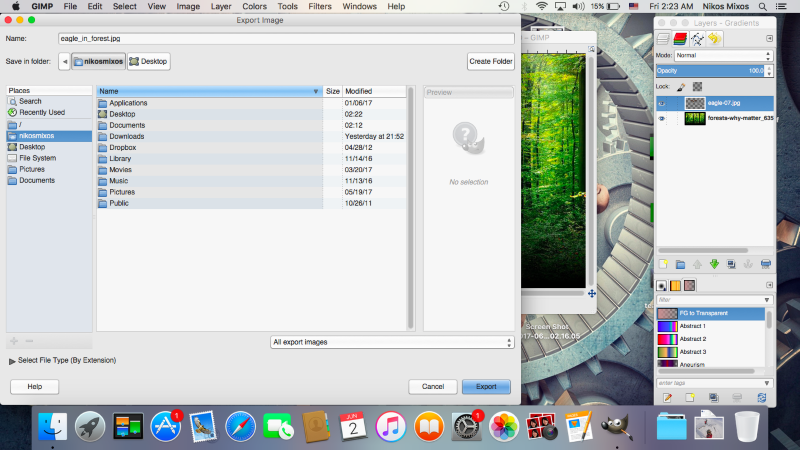
Export
When we are done, we need to render our picture. We click File -> export as -> name our file -> export.