Module 7 - Section 2 - Bitmap Graphics
| Site: | ΕΛ/ΛΑΚ Moodle |
| Course: | Python Lab |
| Book: | Module 7 - Section 2 - Bitmap Graphics |
| Printed by: | Guest user |
| Date: | Wednesday, 1 July 2026, 8:27 AM |
Description
After the completion of this module the students will be able to:
- use an image as a background image in Pygame basic template
- create python code to load sprites
- superimpose sprites on top of the background image
- rewrite Python code to move the sprites using the keyboard or the mouse
7.2.1 - All in one place
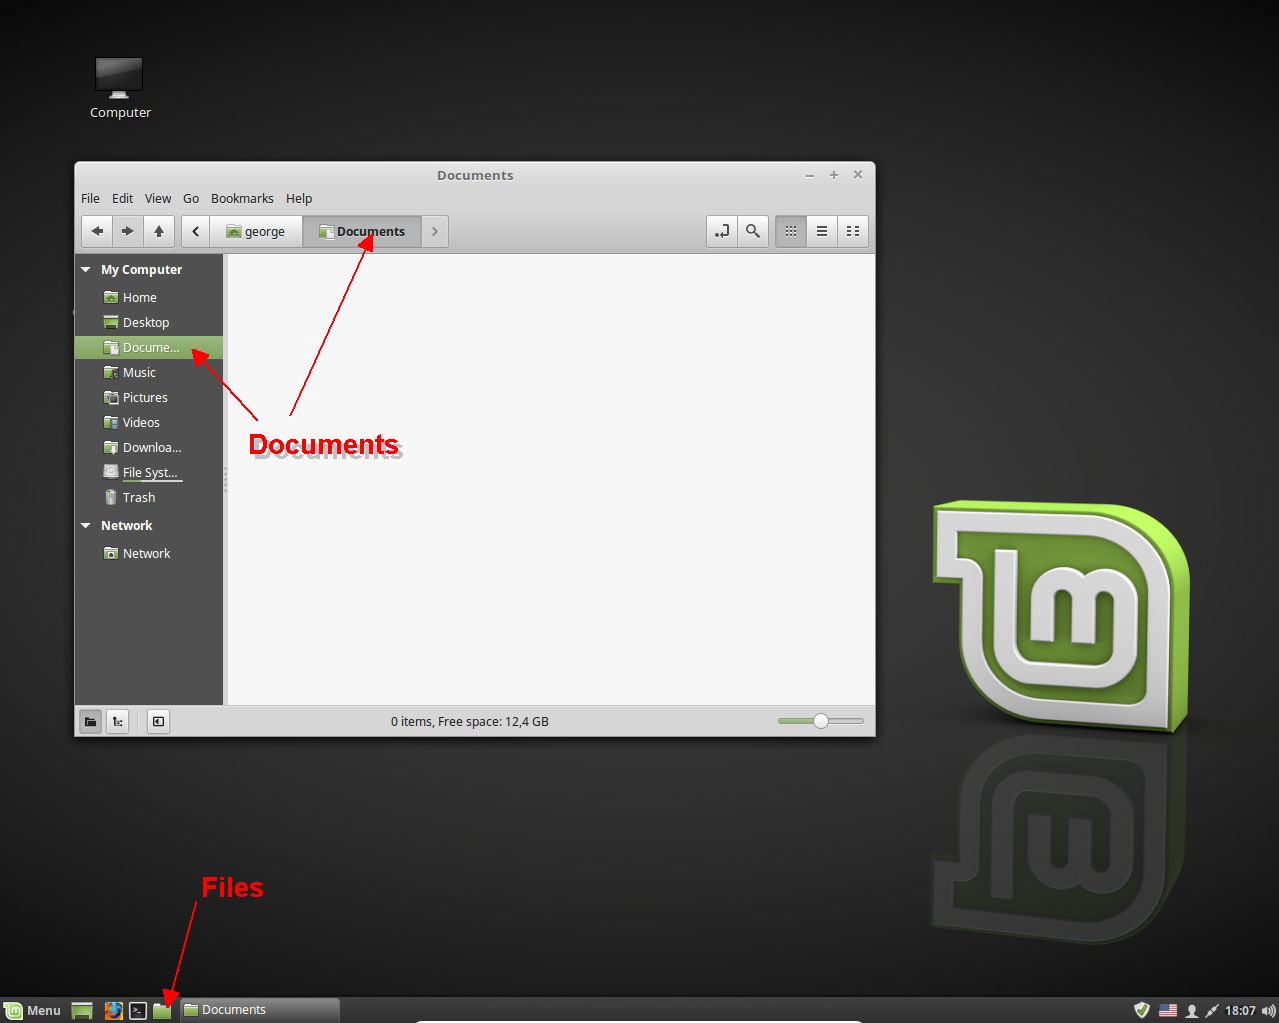
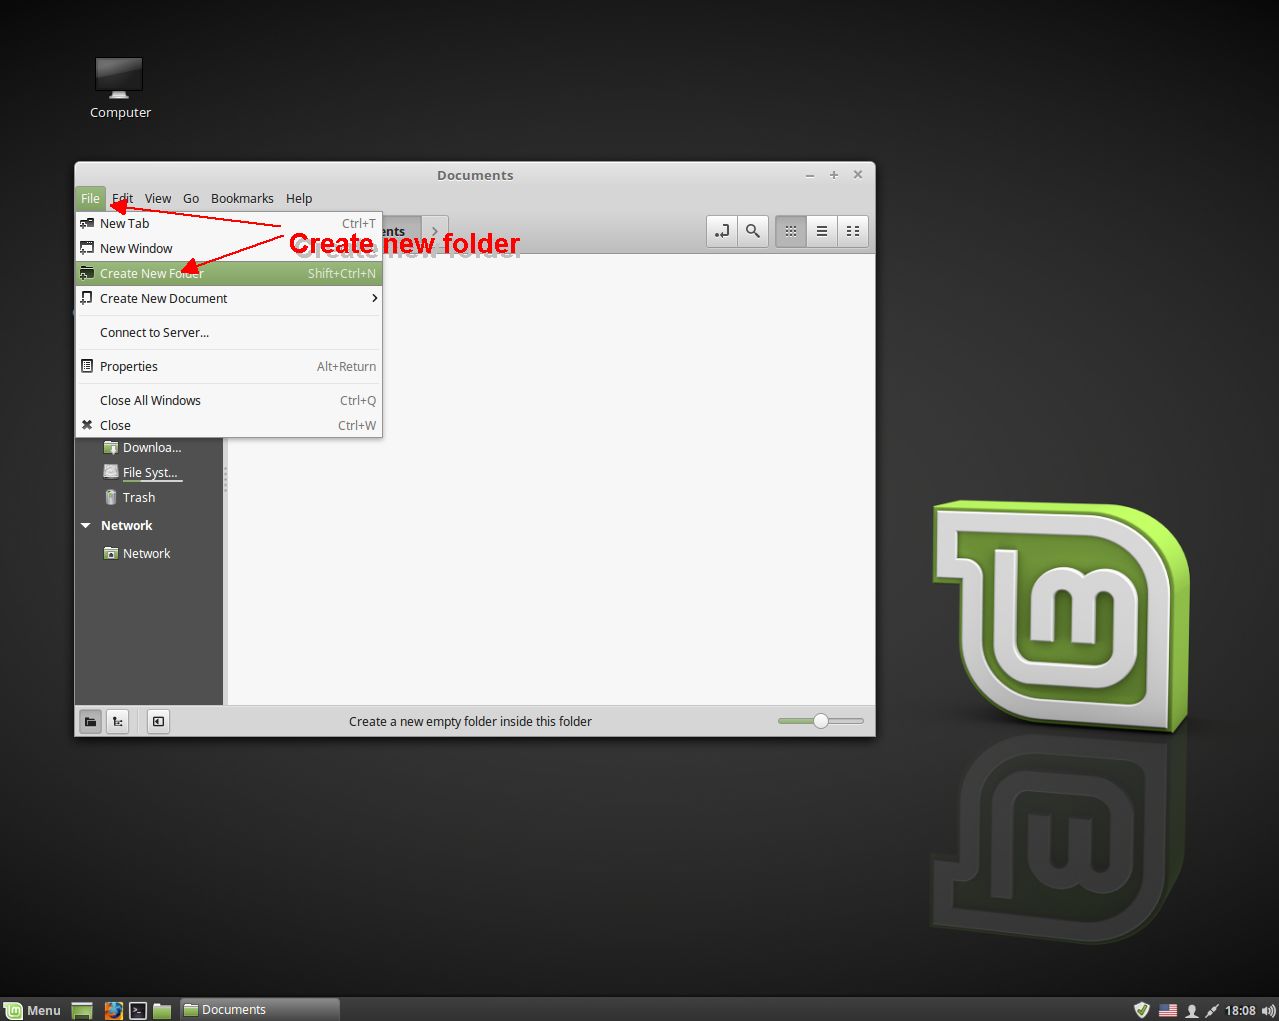
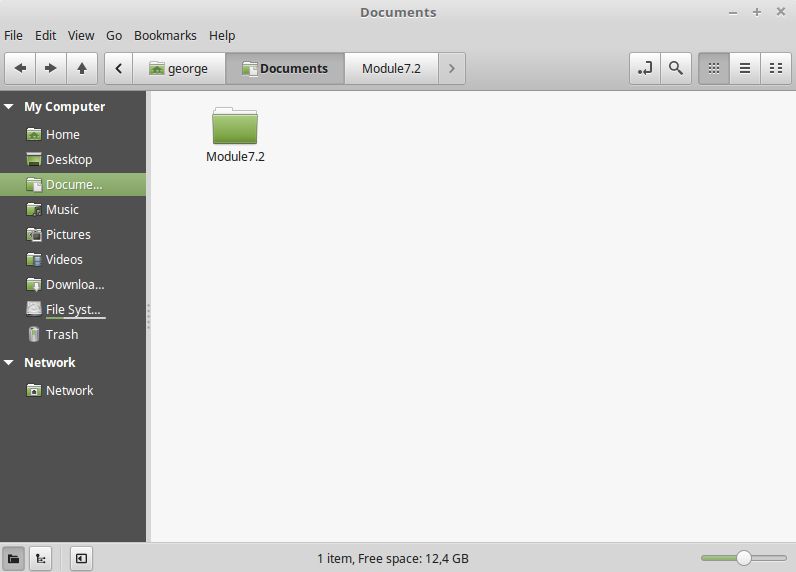
The programs we've made so far only involve one file. Now that we are including images and sounds, there are more files that are part of our program. It is easy to get these files mixed up with other programs we are making. The way to keep everything neat and separated out is to put each of these programs into its own folder. Before beginning any project like this, click the files button navigate to Documents, create a new folder and name it Module7.2. We will use that folder as a place to put all the new files.
7.2.2 - Background image
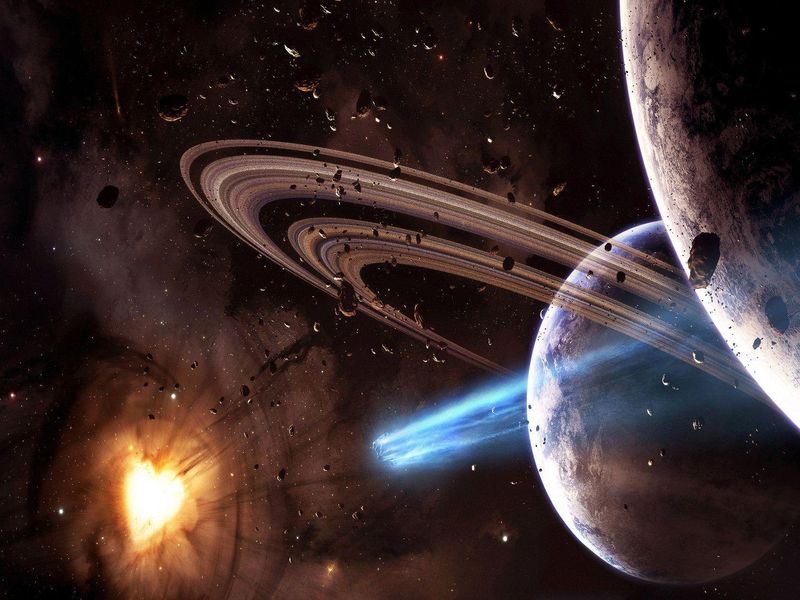
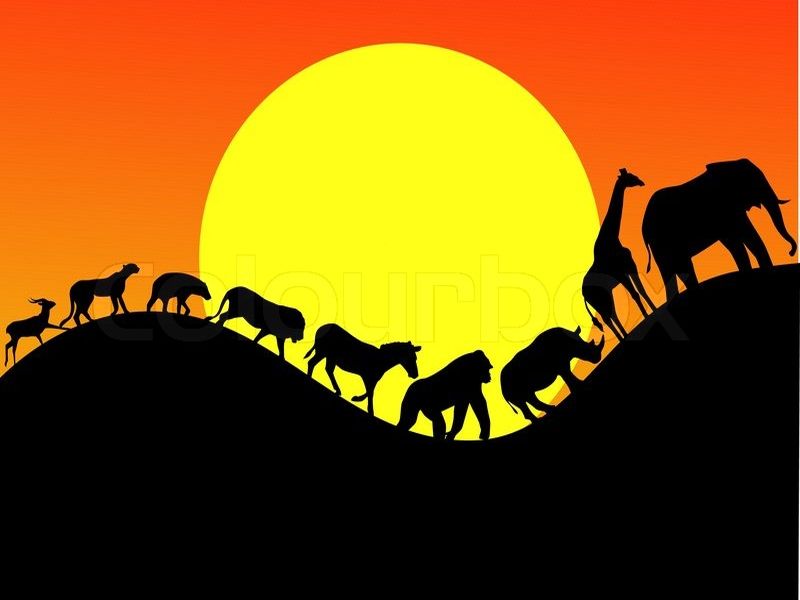
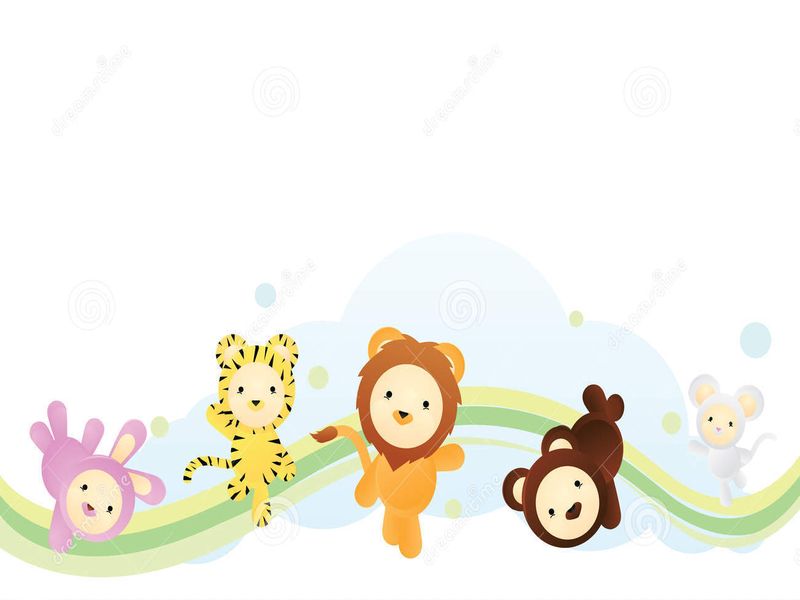
Instead of the dull one color backgrounds that we have created so far, in pygame we can use whatever picture or graphics as a background image of our games. The images should already be sized to the resolution of our screen. If it is not we can use whatever program we like to crop and resize the image to the size of our game's screen.
For our game we have some background images to choose if you don't want to find one. Right click on the image that you like and Save image as in the Documents folder Module7.2 with the name background.jpg without the number.

7.2.3 - Display the background
Loading an image is a simple process and involves only one line of code. The command will load a file called background.jpg, store it to a variable called background_image and convert it to a format Pygame can more
easily work with. The file background.jpgmust be located in the same directory that the python program is in, or the computer will not find it:
background_image = pygame.image.load("background.jpg").convert()Loading the image should be done before the main program loop. While it would be possible to load it in the main program loop, this would cause the program to fetch the image from the disk all the time. This is completely unnecessary. It is only necessary to do it once at program start-up.
To display the image use the blit command.
screen.blit(background_image, [0, 0])Download the pygame basic template from here and save it inside the Documents folder Module7.2 using the name game7.4.2
In line 19 copy the first line that loads and converts the background image and in line 47 replace the existing line with the above blit command.
The final program can be downloaded from here.
If the program creates an error make sure that it is in the same folder with the file background.jpg.
Otherwise press the ![]() button and fix the error.
button and fix the error.
7.2.4 - Displaying sprites
Now we want to load an image and move it around the screen. We will start off with a simple space ship.
Most of the time we do not create objects using the draw command of pygame but we use sprites. One of this sprites that we will use is a spaceship![]()
Sprites are usually in png or gif format. To use this sprite it must be in the same folder as our program.
Right click on the spaceship and save it as spaceship.png inside the folder Module7.2
This is another sprite of a meteor ![]()
Right click on the meteor and save it as meteor.png inside the folder Module7.2
To draw the sprites we have to load them first and the blit them.
Save the previous program that you already created to display the background as avoid_v0.1
Inside the program add these lines after the command that loads the background image:
# Load the sprites
spaceshipImg = pygame.image.load("spaceship.png")
meteorImg = pygame.image.load("meteor.png")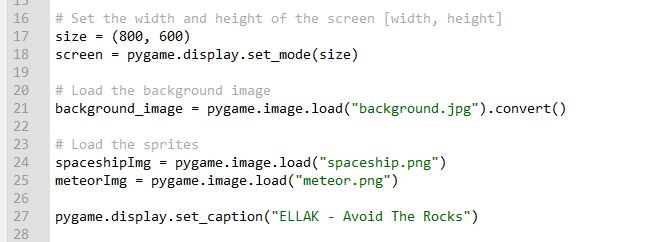
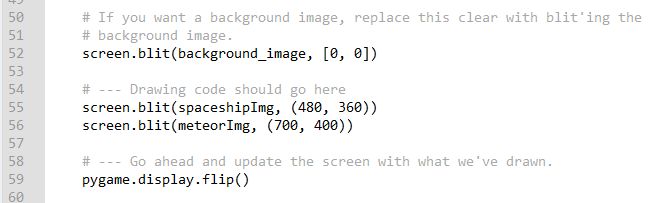
and the following two lines inside the main loop in the place where the drawing code should go:
    screen.blit(spaceshipImg, (480, 360))
    screen.blit(meteorImg, (700, 400))
taking care of indentation.
The final code can be downloaded from here.
7.2.5 - Moving sprites with the keyboard
As we have seen in a previous chapter we can use the keyboard to control the movement of shapes. The same thing can be done with sprites.
Save the avoid_v0.1 program as avoid_v0.2 inside the same folder Module7.2.
To move the spaceship
1. We initialize its position and speed outside the main loop with the following commands:
# Initialization of spaceships position and speed
ship_x = 380
ship_y = 285
ship_x_speed = 0
ship_y_speed = 0
2. Inside the main loop in the event processing area we add the commands:
        if event.type == pygame.KEYDOWN:
                if event.key == pygame.K_RIGHT or event.key == pygame.K_d:
                    ship_x_speed = 5
                if event.key == pygame.K_LEFT or event.key == pygame.K_a:
                    ship_x_speed = -5
                if event.key == pygame.K_DOWN or event.key == pygame.K_s:
                    ship_y_speed = 5
                if event.key == pygame.K_UP or event.key == pygame.K_w:
                    ship_y_speed = -5

        if event.type == pygame.KEYUP:
                if event.key == pygame.K_RIGHT or event.key == pygame.K_LEFT:
                    ship_x_speed = 0
                if event.key == pygame.K_d or event.key == pygame.K_a:
                    ship_x_speed = 0
                if event.key == pygame.K_UP or event.key == pygame.K_DOWN:
                    ship_y_speed = 0
                if event.key == pygame.K_w or event.key == pygame.K_s:
                    ship_y_speed = 0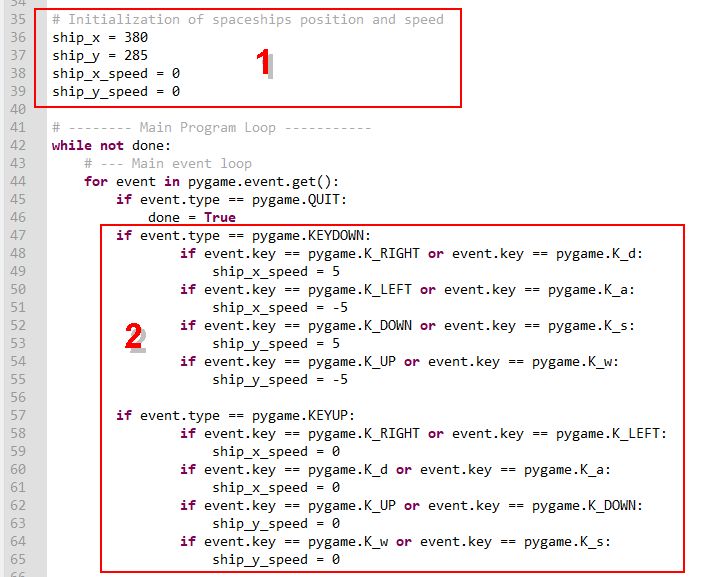
3. In the game logic area we add the following commands so the spaceship which size is 40x33 doesn't get out of the screen.
    if ship_x >= 0 and ship_x <= 760:
        ship_x += ship_x_speed
    elif ship_x < 0:
        ship_x = 1
    elif ship_x > 760:
        ship_x = 759
    if ship_y >= 0 and ship_y <= 567:
        ship_y += ship_y_speed
    elif ship_y < 0:
        ship_y = 1
    elif ship_y > 567:
        ship_y = 566
4. and change the command that blit the spaceship using the variables ship_x and ship_y:
screen.blit(spaceshipImg, (ship_x, ship_y))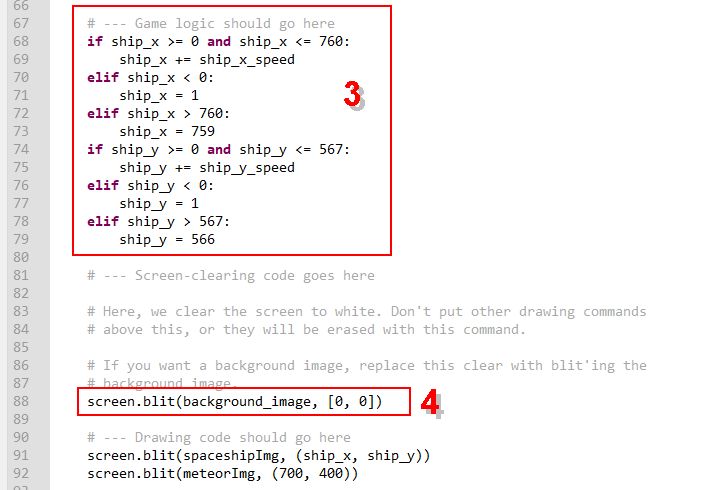
The final program can be downloaded from here.