Day 8 - Section 3 - Combining our knowledge to build a smart and automated project
| Site: | ΕΛ/ΛΑΚ Moodle |
| Course: | Robotics - 3D Printing - Internet of Things |
| Book: | Day 8 - Section 3 - Combining our knowledge to build a smart and automated project |
| Printed by: | Επισκέπτης (Guest user) |
| Date: | Friday, 30 January 2026, 9:09 PM |
Description
After the completion of this section the students will be able to:
- create a circuit which uses many of electronic devices to simulate the operation of an autonomous Air-Conditioner
- build a program to automate the process and communicate with their smartphone
- create a Blynk project to supervise the history and the current environmental conditions of the place that the AC is installed
Activate the fan when the heat is on....
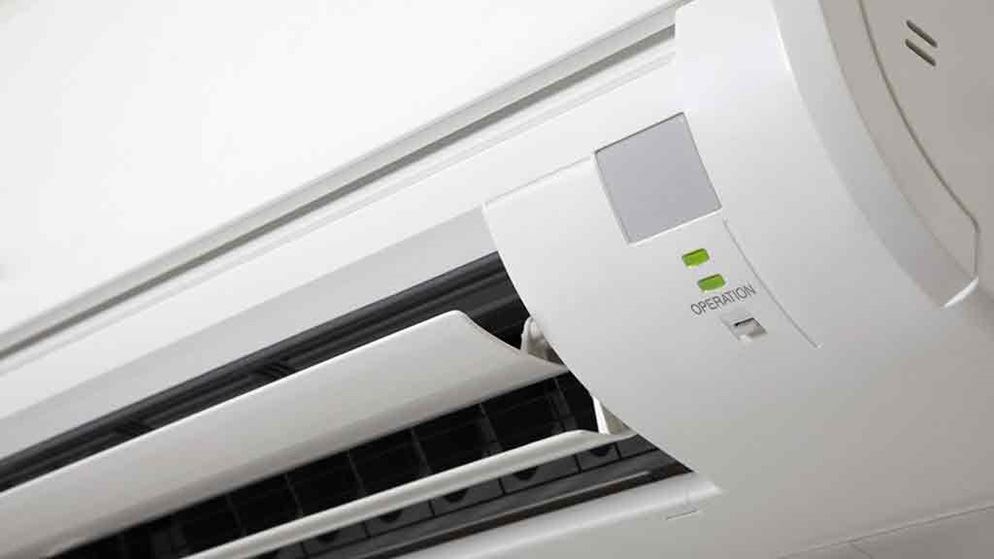
Now that we know all these about NodeMCU, sensors, Blynk, etc., let's make a try to build an autonomous air-conditioner. It will monitor the temperature and if it is under 20°C then the RGB LED will light BLUE. If it is above 20°C and under 25°C, the RGB LED will light GREEN. If it is between 25°C and 30°C the RGB LED will light ORANGE. And finally, if the temperature is over 30°C then the RGB LED will light RED and the relay will be turned ON, activating a fan or another LED to emulate this function.All this time, we will be monitoring the temperature on our Blynk app watching also the history of the results.

The circuit diagram will be as below:
The Blynk project will be as simple as this screenshot:
The code is as below:
/*************************************************************
Download latest Blynk library here:
https://github.com/blynkkk/blynk-library/releases/latest
Blynk is a platform with iOS and Android apps to control
Arduino, Raspberry Pi and the likes over the Internet.
You can easily build graphic interfaces for all your
projects by simply dragging and dropping widgets.
Downloads, docs, tutorials: http://www.blynk.cc
Sketch generator: http://examples.blynk.cc
Blynk community: http://community.blynk.cc
Follow us: http://www.fb.com/blynkapp
http://twitter.com/blynk_app
Blynk library is licensed under MIT license
This example code is in public domain.
*************************************************************
This example shows how value can be pushed from Arduino to
the Blynk App.
WARNING :
For this example you'll need Adafruit DHT sensor libraries:
https://github.com/adafruit/Adafruit_Sensor
https://github.com/adafruit/DHT-sensor-library
App project setup:
Value Display widget attached to V5
Value Display widget attached to V6
*************************************************************/
/* Comment this out to disable prints and save space */
#define BLYNK_PRINT Serial
#include <ESP8266WiFi.h>
#include <BlynkSimpleEsp8266.h>
#include <DHT.h>
// You should get Auth Token in the Blynk App.
// Go to the Project Settings (nut icon).
char auth[] = "???????????????????????";
// Your WiFi credentials.
// Set password to "" for open networks.
char ssid[] = "XXXXXXXXXXXXXXX";
char pass[] = "YYYYYYYYYYYYYYYY";
#define DHTPIN 12 // What digital pin we're connected to
// Uncomment whatever type you're using!
#define DHTTYPE DHT11 // DHT 11
//#define DHTTYPE DHT22 // DHT 22, AM2302, AM2321
//#define DHTTYPE DHT21 // DHT 21, AM2301
int redPin = 5;
int greenPin = 4;
int bluePin = 0;
DHT dht(DHTPIN, DHTTYPE);
BlynkTimer timer;
// This function sends Arduino's up time every second to Virtual Pin (5).
// In the app, Widget's reading frequency should be set to PUSH. This means
// that you define how often to send data to Blynk App.
void sendSensor()
{
float h = dht.readHumidity();
float t = dht.readTemperature(); // or dht.readTemperature(true) for Fahrenheit
if (isnan(h) || isnan(t)) {
Serial.println("Failed to read from DHT sensor!");
return;
}
else {
Serial.println(t,0);
if (t <20){
digitalWrite(14, LOW);
analogWrite(redPin, 0);
analogWrite(greenPin, 0);
analogWrite(bluePin, 255);
}
else if (t <= 25 && t >=20) {
digitalWrite(14, LOW);
analogWrite(redPin, 0);
analogWrite(greenPin, 255);
analogWrite(bluePin, 0);
}
else if (t > 25 && t <= 30) {
digitalWrite(14, LOW);
analogWrite(redPin, 255);
analogWrite(greenPin,93);
analogWrite(bluePin, 0);
}
else {
digitalWrite(14, HIGH);
analogWrite(redPin, 255);
analogWrite(greenPin, 0);
analogWrite(bluePin, 0);
}
}
// You can send any value at any time.
// Please don't send more that 10 values per second.
Blynk.virtualWrite(V5, h);
Blynk.virtualWrite(V6, t);
}
void setup()
{
// Debug console
Serial.begin(9600);
Blynk.begin(auth, ssid, pass);
// You can also specify server:
//Blynk.begin(auth, ssid, pass, "blynk-cloud.com", 8442);
//Blynk.begin(auth, ssid, pass, IPAddress(192,168,1,100), 8442);
dht.begin();
// Setup a function to be called every second
timer.setInterval(1000L, sendSensor);
pinMode(redPin, OUTPUT);
pinMode(greenPin, OUTPUT);
pinMode(bluePin, OUTPUT);
pinMode(14, OUTPUT);
}
void loop()
{
Blynk.run();
timer.run();
}
You can play with the limits that the RGB LED changes color and try the setup with a hot air blower.
Experiment, play and of course......HAVE FUN WITH CODING!