Tinkercad tutorial
| Site: | ΕΛ/ΛΑΚ Moodle |
| Course: | 3D printing with circuits and Arduino |
| Book: | Tinkercad tutorial |
| Printed by: | Guest user |
| Date: | Monday, 29 June 2026, 10:52 AM |
Description
Create your first 3D design online
1. Account creating and navigation
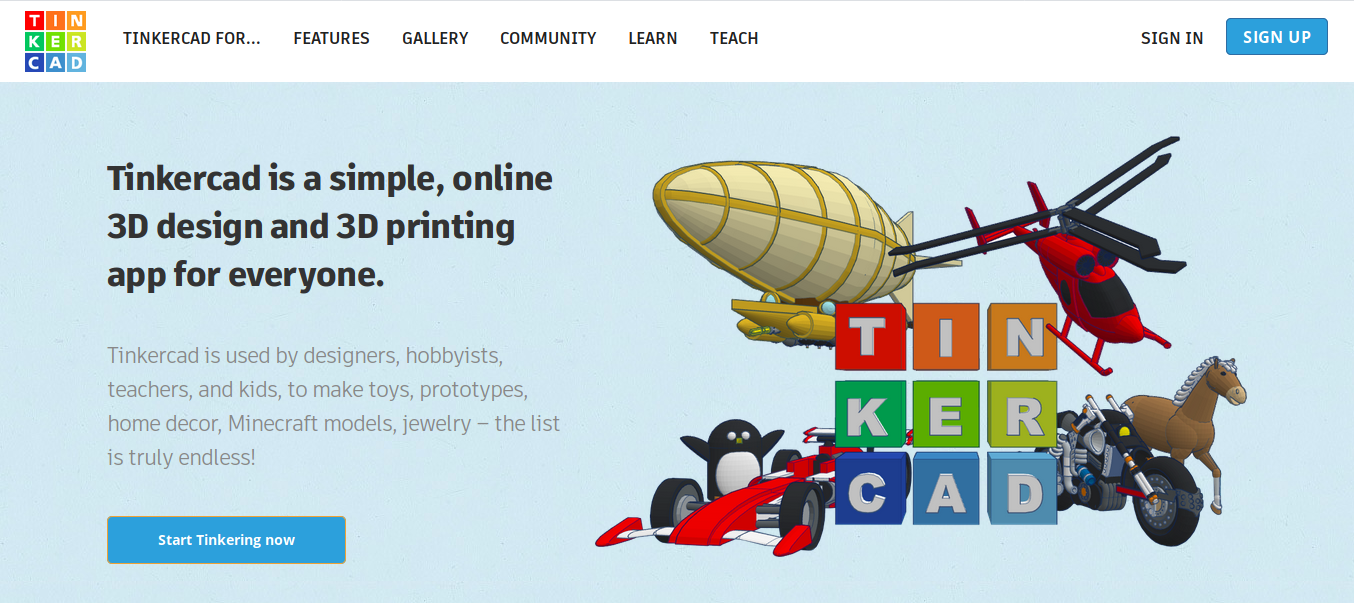
In the previous session we mentioned Tinkercad, as an easy-to-start online application for 3D design. Here, we will do a walk-through of its basic features.
Sign up
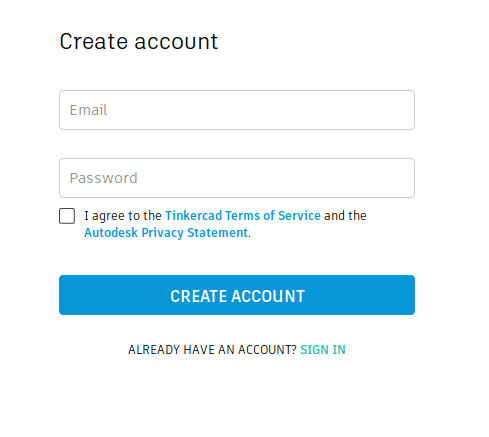
In order to use Tinkercad, you need to create an account or link one of your social accounts (Facebook, Google etc.). In case you do not wish to do any of the above, you can create an account using a Mailnesia alias.
Browse designs
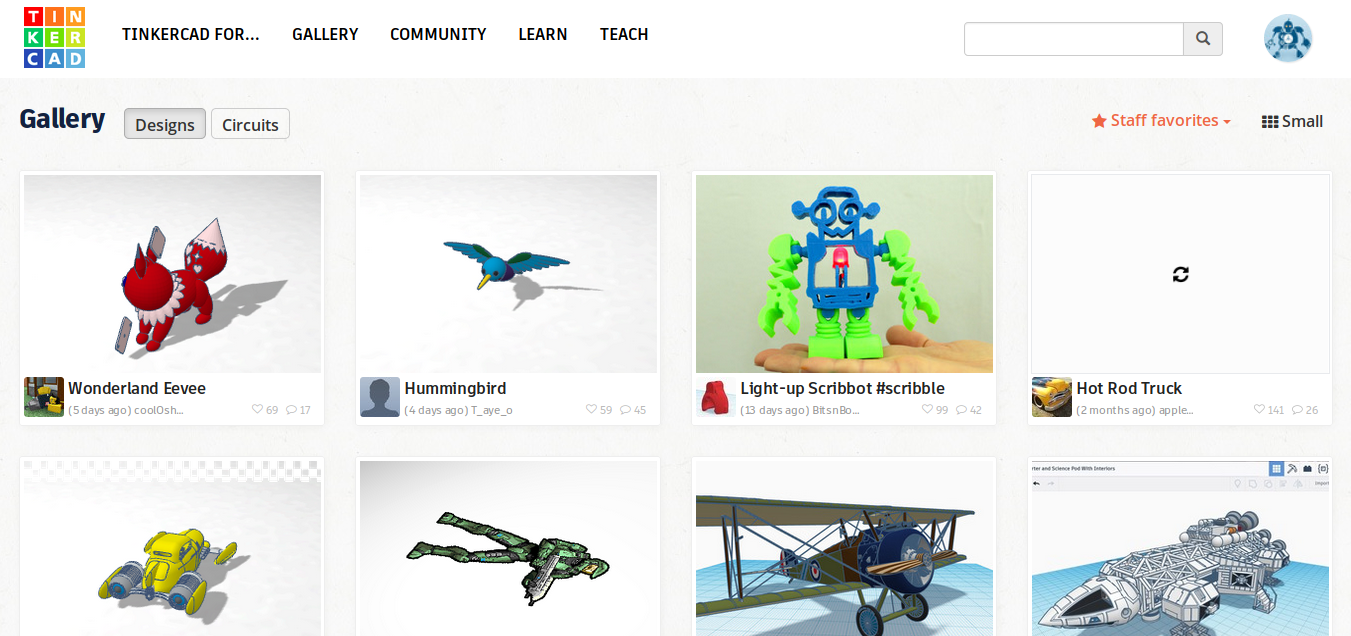
Now that you have an account, click on the Gallery on the menu to check out others’ designs.
2. Creating a new design
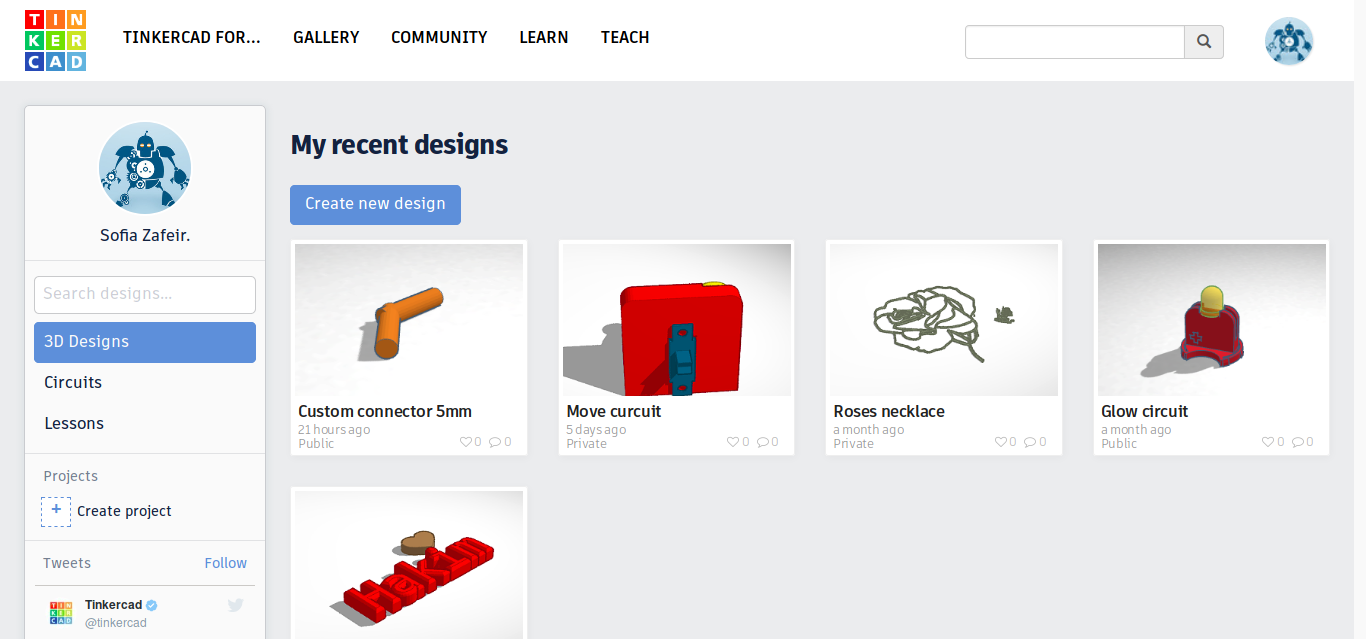
This is the main interface you should see while logged in, with a list of your designs and projects. Clicking on the Create new design button will take you to the online editor.
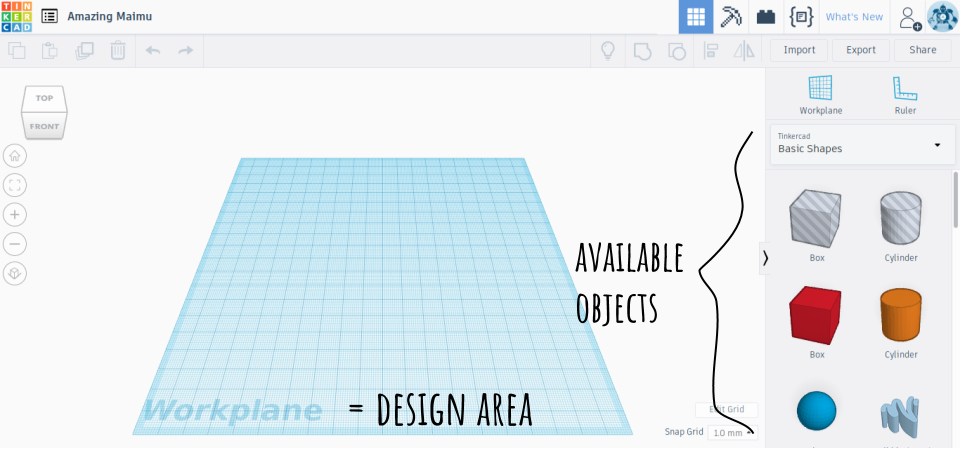
The editor
The main part of the editor is the light blue 3D grid called the Workplane. The workplane is where everything goes, the design area, and on the right you can see a menu of all the available objects to use. You can drag and drop objects to the workplane.
- Try adding the cube!
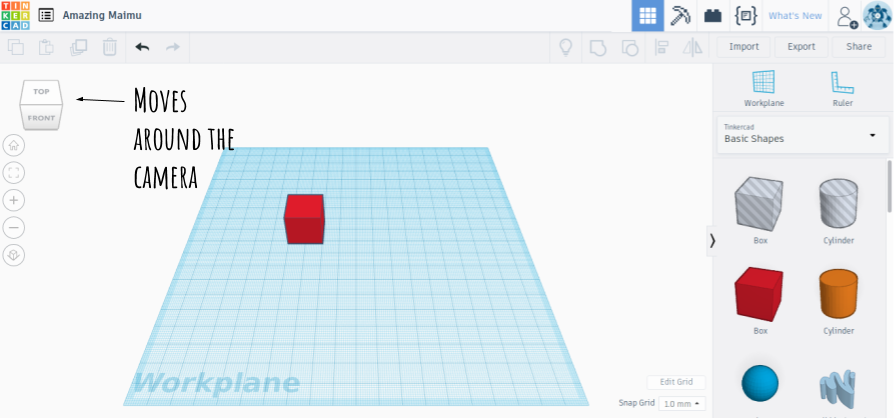
The view
On the top left corner you can always see a cube and a set of buttons that control the view.
- Try to click on the different sides and edges of the view cube to move around the camera!
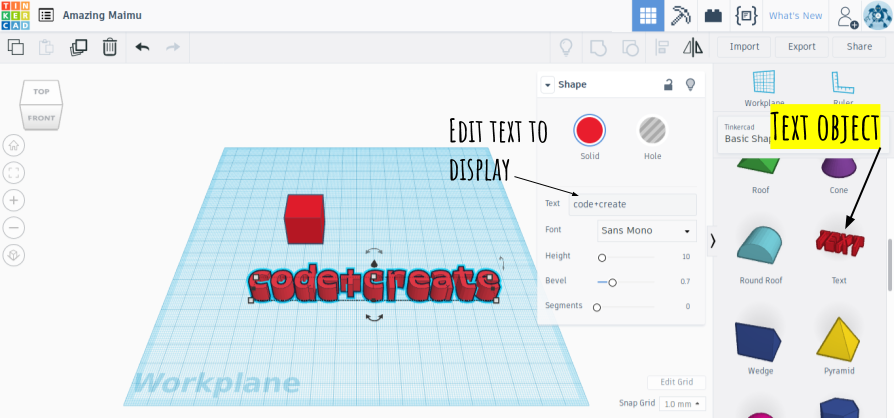
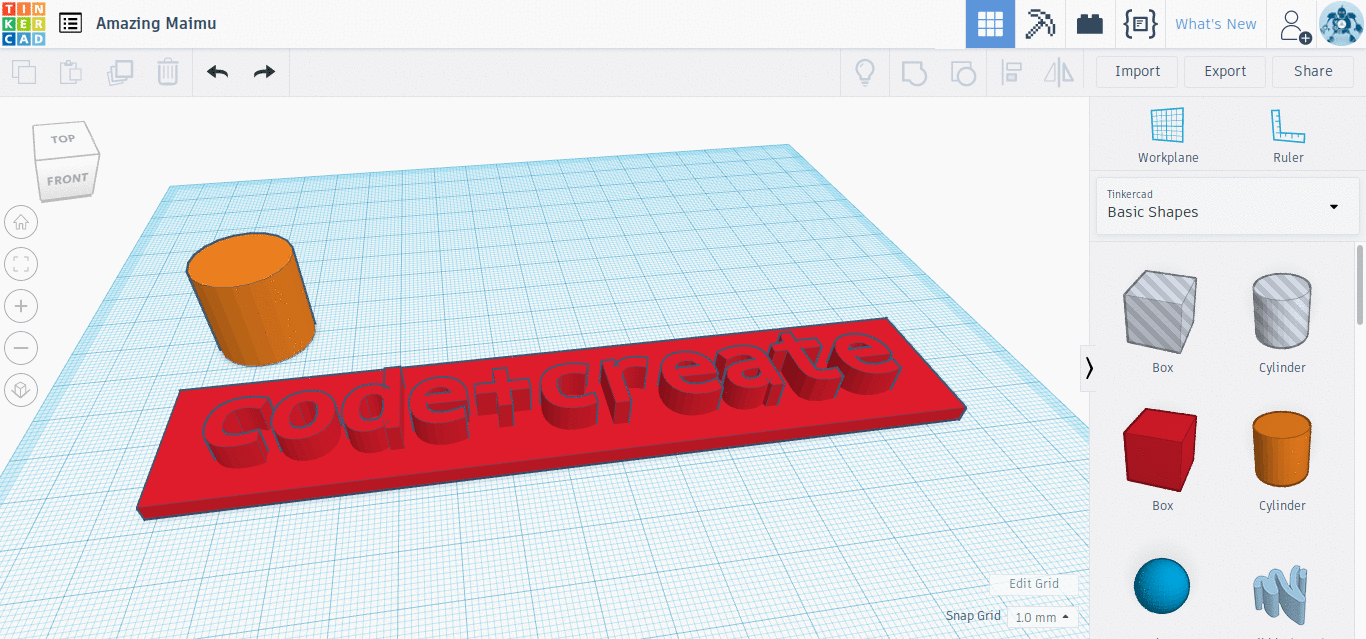
3. Designing a custom keychain
Now let's try to add a text object to the workplane. You can use the window that appears to edit your text and its properties.
Next we will try to transform the cube's dimensions to fit as a base for our letters, using the resize arrows. Its height should now be lower than the letters' height.
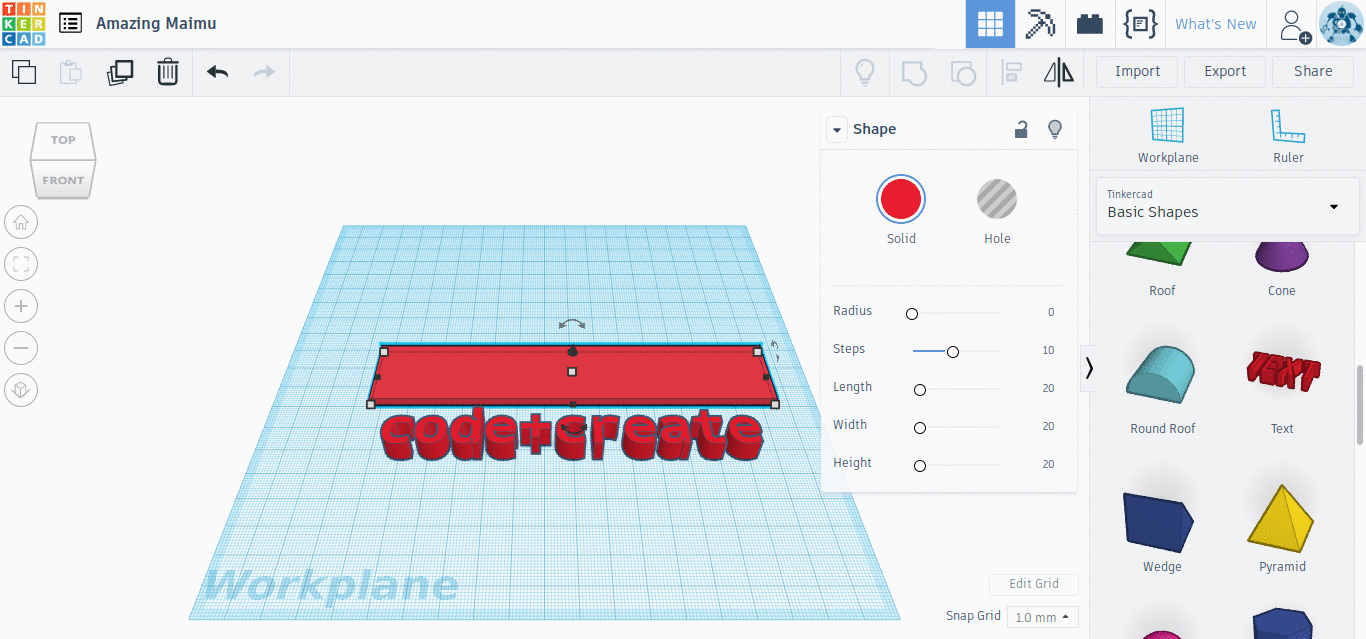
Move the base to the area of the letters as desired.
We are then going to create a hole for the keychain. For this we will use the cylinder object from the right menu. First, we will resize the cylinder accordingly (resize arrows + Shift keeps proportions) and then from its settings, we are changing it from Solid to Hole. We can now move it around our design as desired.
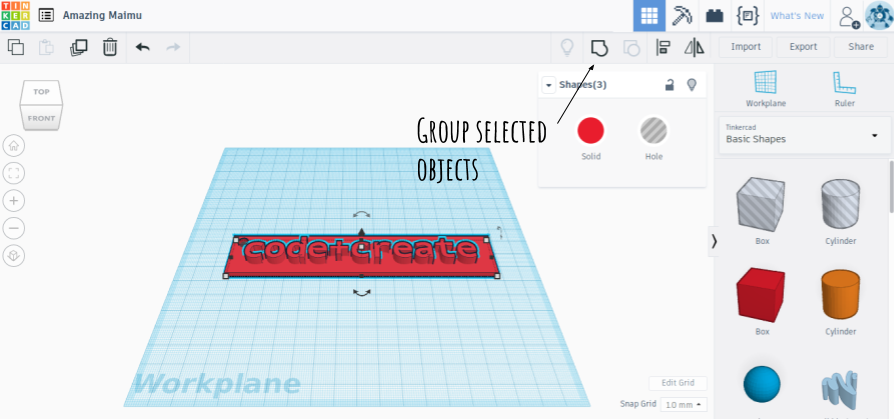
Now select all placed objects with your mouse (or Ctrl+a), and use the Group button on the top menu to group them. Tadah!
4. Exporting the model
Now that you created your first model, it's time to export it as .stl, in order to slice it with Cura. There is an Export button on the top menu of the Tinkercad editor.

When you click on it, a Download window opens. You can select to export 'everything in the design' or 'selected shapes'. Choose .STL and download your file for printing.

That's it!
5. Tinkercad resources
Tinkercad offers interactive lessons in its editor for all of its basic functions. Follow the Basics before moving on to complete the 'Build a Tinkercad house' project (see this module's assignment for more info).You can also check out the Tinkercad Youtube channel.