Post-processing and finishing 3D prints
| Site: | ΕΛ/ΛΑΚ Moodle |
| Course: | 3D printing with circuits and Arduino |
| Book: | Post-processing and finishing 3D prints |
| Printed by: | Guest user |
| Date: | Friday, 26 June 2026, 10:51 PM |
1. Tools and supplies
In this section, we are going to explore simple ways to give a new look to finished 3D prints. The tools we are going to use are:
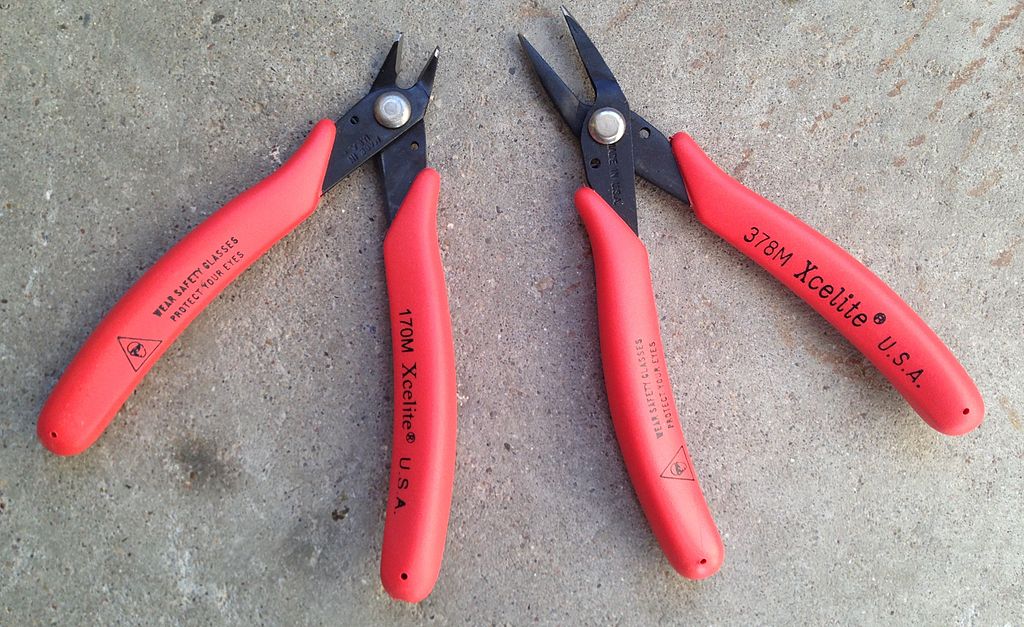
Pliers and diagonal cutters are helpful in removing supports and other excess material.
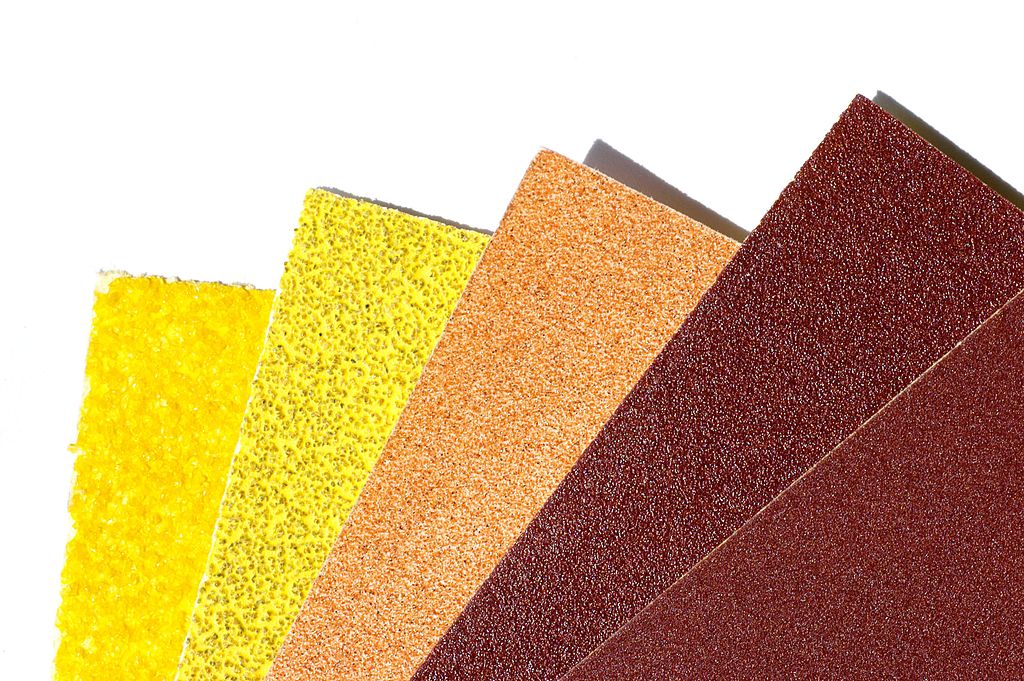
Sandpaper for making the surfaces smooth.
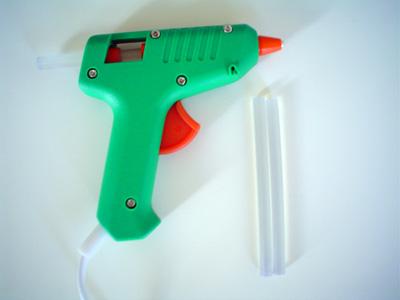
Hot glue gun for gluing parts together.
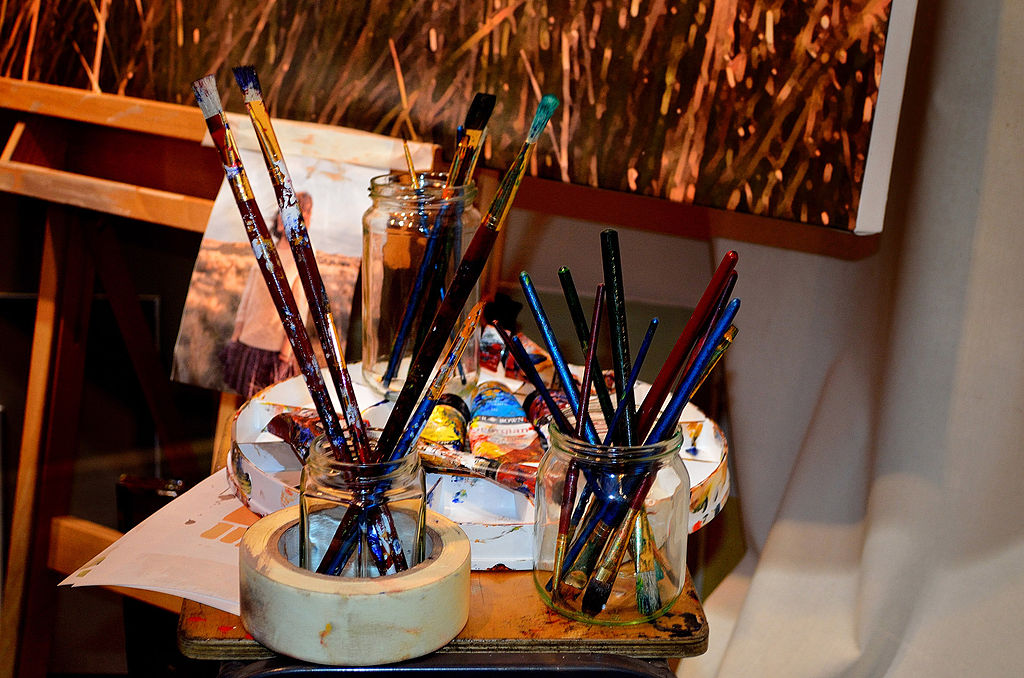
Spray primer filler for evening out gaps, acrylic colours and brushes.
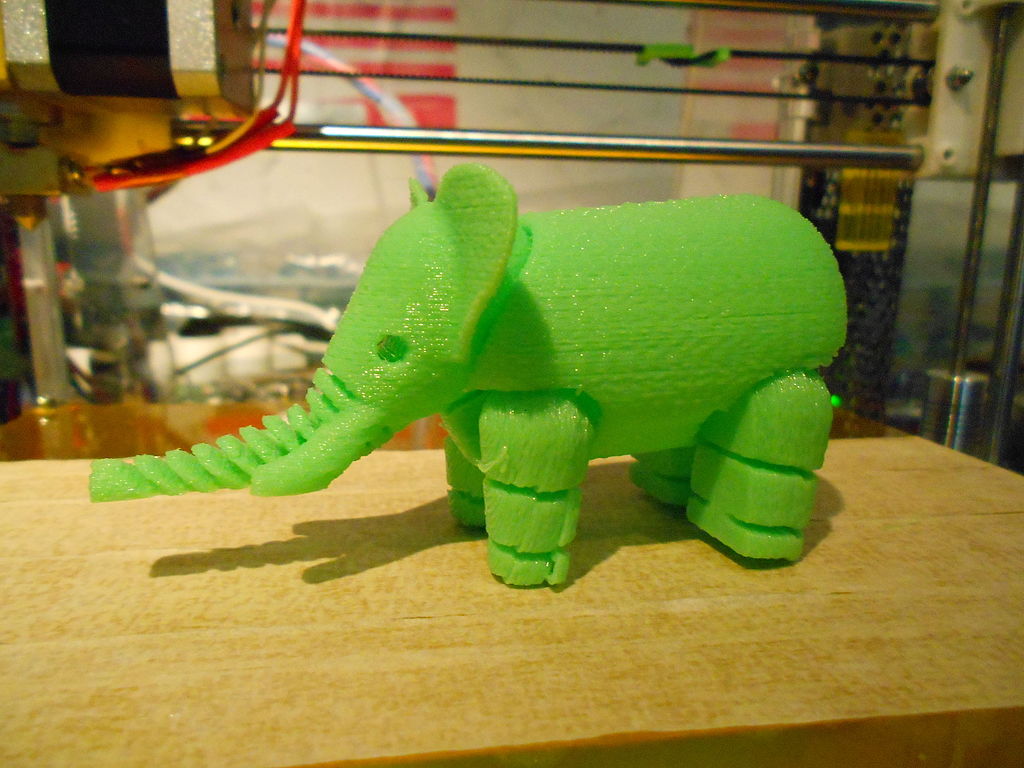
2. Removing supports
After you remove your print from the printer, you will need to remove the brim and any additional support structures. The needle-nose pliers and diagonal cutters, as well as a paper knife, are suitable tools for this job.
For additional input and instructions you may refer to the following video.
3. Preparing for paint
Using sandpaper you can remove any marks from the supports, as well as make the surface as smooth as you want. Using wet sandpaper will also save you from some dust. For some extra pro tips for sanding 3D prints, click here.
Next, if your design is comprised of different pieces to be glued together, you can use a silicon glue gun and tie together/hold still the glued parts until the silicon cools off.
As a last step before the paint, you can spray your design with a primer filler.
Primer filler is a type of primer that fills small surface imperfections. Use a piece of cord to tie around your design and hang it in an open space with good ventilation (open the windows!).
4. Painting
Make sure to clean up any dust before painting your design and, if desirable, apply extra layers of primer and/or sand it again.
Next, apply your base color using multiple thin coats of paint.
Mask the parts that you do not wish to paint with a specific colour by applying large strips of painter’s tape. Coat your part in the next paint colour, allow to fully dry and remove the mask. Repeat previous steps according to your colouring plan.
This is more or less it!
Obviously different materials and designs require different post-processing work; experiment as much as possible with different processes and techniques to find what works best for you.
For further reading, have a look at a more advanced tutorial here.