Meet the Arduino
| Site: | ΕΛ/ΛΑΚ Moodle |
| Course: | 3D printing with circuits and Arduino |
| Book: | Meet the Arduino |
| Printed by: | Guest user |
| Date: | Friday, 26 June 2026, 1:48 AM |
Description
Physical computing, open hardware and all that buzz.
1. What is the Arduino
By now, you probably have asked yourself what Arduino is, or seen a cool project online. After all, it is on the course title!
Arduino today is not just a single piece of technology, but an open platform that helps creative minds, makers, hobbyists, students and teachers, absolute beginners and professional researchers build interactive electronics projects. It is a paradigm that brought programming and physical computing, fields normally associated with electrical engineering and computer science, closer to everyone.
Hardware: The microcontroller boards, such as the Arduino UNO.
Software: To program the boards, we will use a software program called the Arduino IDE (Integrated Development Environment).
Programming language: The Arduino programming language, which is based on the famous C programming language.
2. Physical computing
We have already the term physical computing when introducing the Arduino. So what does mean?
Physical computing refers to computer systems that interact with the physical world around, by using inputs (switches, buttons, sensors) and outputs (LEDs, screens, sound etc.).

3. Open source hardware
We also mentioned that the Arduino is an open platform, but what does that mean?
Arduino is manufactured by arduino.cc. Here is how they describe themselves:
Arduino is an open-source electronics platform based on easy-to-use hardware and software. Arduino boards are able to read inputs - light on a sensor, a finger on a button, or a Twitter message - and turn it into an output - activating a motor, turning on an LED, publishing something online. You can tell your board what to do by sending a set of instructions to the microcontroller on the board. To do so you use the Arduino programming language (based on Wiring), and the Arduino Software (IDE), based on Processing.
Over the years Arduino has been the brain of thousands of projects, from everyday objects to complex scientific instruments. A worldwide community of makers - students, hobbyists, artists, programmers, and professionals - has gathered around this open-source platform, their contributions have added up to an incredible amount of accessible knowledge that can be of great help to novices and experts alike.
Open source hardware means that information about the hardware is easily discerned so that others can make it – coupling it closely to the maker movement.
In the open source hardware movement, people share their hardware and software to the public. Source designs are shared in a format that can be modified, and whenever possible, readily available materials and open source tools are used to create the designs.
![]()
This fosters the development of new products and designs, bringing the community of users to the centre of the movement, as a great resource for learners.
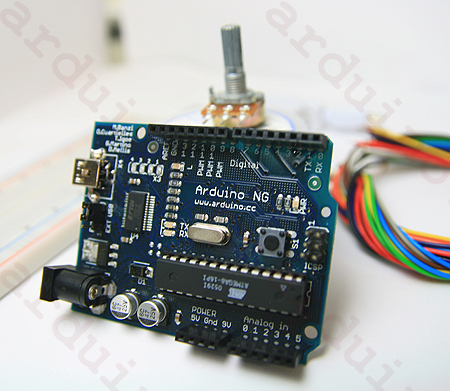
4. Arduino boards
There are many versions of the Arduino, and each is designed for a specific function.
Arduino started around 2005 and is constantly evolving. For the purposes of this course and for the time being, we will be using an Arduino Uno. Also, since the Arduino is open source, you might have acquired a board that does not come directly from the Arduino company, but is “Arduino compatible”.


5. Parts of an Arduino
Let's take a look on the main parts of the board:
![Arduino Uno microcontroller and its parts [12]](https://www.researchgate.net/profile/Dalibor_Dumic/publication/311741962/figure/fig8/AS:441352946229255@1482238150683/Arduino-Uno-microcontroller-and-its-parts-12.jpg)
Reset Button
Three engineers are riding in a car.
One is a mechanical engineer, one is an electrical engineer, and one is a computer engineer.
The car breaks down and coasts to the side of the road.
"Hang on," says the mechanical engineer. "The problem is probably the engine, let me have a look at it and I'll have us on the road again in no time."
"Wait," says the electrical engineer. "The way it just stopped like that, I think it's the electrical system. Let me have a look and I'll get us going again in a minute or two."
"Hold on," says the computer engineer. "Why don't we all just get out of the car and get in again, and then see if it starts?"
USB port
The USB port takes a standard USB A-B cable. It serves to connect the Arduino to a computer in order to program the board. It can also power the Arduino if we are not using the power connector.
Power connector
Built-In LEDs
The LEDs marked TX and RX show whether the Arduino is sendingor receiving data. The on-board LED marked L is connected to Pin 13.The Power LED indicates that the Arduino is getting power when you turn it on.