Internet of Things
| Site: | ΕΛ/ΛΑΚ Moodle |
| Course: | 3D printing with circuits and Arduino |
| Book: | Internet of Things |
| Printed by: | Guest user |
| Date: | Tuesday, 27 January 2026, 6:39 AM |
Description
Interfacing with the NodeMCU and Blynk.
1. NodeMCU
What is NodeMCU?
The NodeMCU (Node MicroController Unit) is an open source software and hardware development environment that is built around a very inexpensive System-on-a-Chip (SoC) called the ESP8266. The ESP8266, designed and manufactured by Espressif Systems, contains all crucial elements of the modern computer: CPU, RAM, networking (wifi), and even a modern operating system and SDK. When purchased at bulk, the ESP8266 chip costs only $2 USD a piece. That makes it an excellent choice for Internet of Things projects of all kinds.
2. Blynk
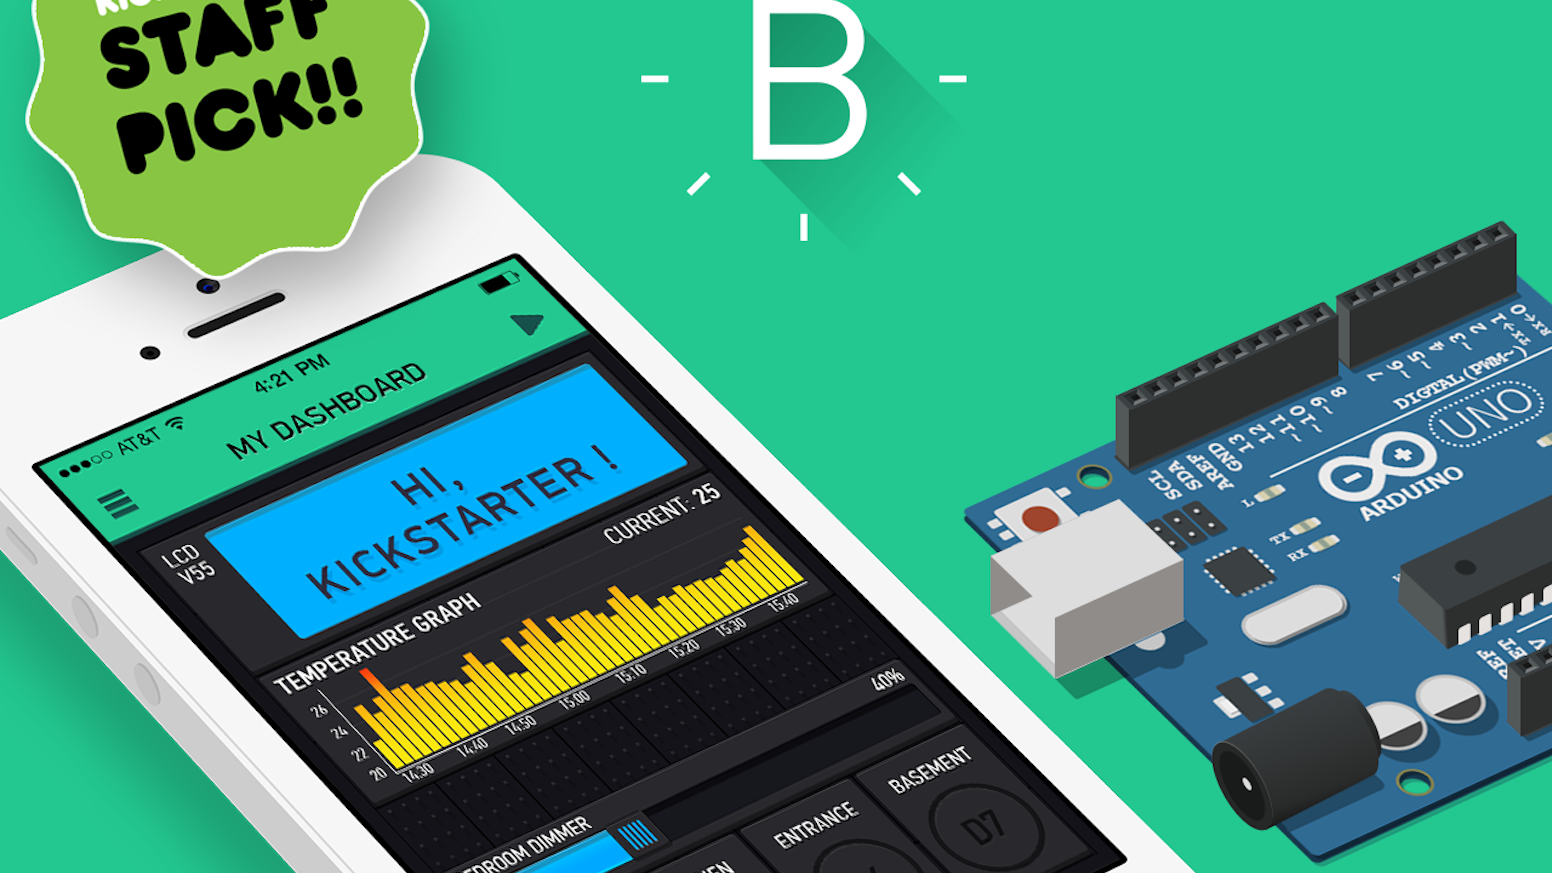
There are three major components in the platform:
Now imagine: every time you press a Button in the Blynk app, the message travels to
|
To set up Blynk we need:
1. Hardware with Wi-Fi connectivity.
An Arduino, Raspberry Pi, a NodeMCU or a similar development kit.
Blynk works over the Internet. This means that the hardware you choose should be able to connect to the internet. Some of the boards, like Arduino Uno will need an Ethernet or Wi-Fi Shield to communicate, others are already Internet-enabled: like the ESP8266, Raspberri Pi with WiFi dongle, Particle Photon or SparkFun Blynk Board. But even if you don’t have a shield, you can connect it over USB to your laptop or desktop (it’s a bit more complicated for newbies, but we got you covered). What’s cool, is that the list of hardware that works with Blynk is huge and will keep on growing.
2. A Smartphone.
The Blynk App is a well designed interface builder. It works on both iOS and Android.
2.1. Blynk Arduino library
1. Download the Blynk library (.zip) from the github repository
https://github.com/blynkkk/blynk-library/releases
2. Extract the contents of the file
3. Open Arduino IDE and navigate to File > Preferences
4. Locate the sketchbook location
5. Copy (and paste) the contents of the extracted folder to the sketchbook folder


2.2. Blynk mobile app
Blynk Apps for iOS or Android
First of all the smartphone application has to be installed
Create a Blynk Account
After you download the Blynk App, you’ll need to create a New Blynk account.
We recommend using a real email address because it will simplify things later.

Open the application and select " Create New Account "
Write your email and a password to create an account on the Blynk server
3. Your first Blynk+NodeMCU sketch
Creating a new project in Blynk
In this section we will learn how to control a remote device using the smartphone

At the beginning we usually plan and design our application, but we can modify or even change anything later. As a first application we will control an led that we will connect to our arduino IDE micro controller unit (MCU)
At the moment an email was sent to your account with the authentication token of the project but you can find it and copy it or resend it inside the menu project settings |

Inside the project
- Click on the plus sign
- Select Button
- Click on the button
- Click on PIN
- Select Digital and GP13
- Turn slider to switch
- Click on the back button


3.1. Circuit and sketch
1.Connect your NodeMCU to your PC
2. Open Arduino IDE
3. Then go to File->Examples->Blynk-Boards_Wifi->Esp8266Standalone

4. Select the correct board (NodeMCU 1.0) and the com port from the Tools Menu
5.
Change the credentials to yours. If you don't know them, ask the
admins. The auth[] is the key that you received previously on your
email. The ssid[] is the name of your WiFi network and the pass[] is the
password.
char auth[] = "????????????";
char ssid[] = "XXXXXXXXXX";
char pass[] = "YYYYYYYYYYY";
Finally Save the file and Press Upload.
Also, make the necessary connections to your circuit:
Now go back to your mobile press Play and......play with the button in Blynk!
