Relays
| Site: | ΕΛ/ΛΑΚ Moodle |
| Course: | 3D printing with circuits and Arduino |
| Book: | Relays |
| Printed by: | Guest user |
| Date: | Tuesday, 21 July 2026, 10:33 AM |
Description
High power mode: control fans, lamps and other appliances.
1. What is a relay?
Have you ever wondered that the occasional clicking sound of a filter coffee maker is? Or when the staircase lights turn off a few minutes after you push the button?
They are relays, electrically operated switches.
Relays are electrical devices that with a certain voltage/current as input they activate another electronic or electrical device. There are many different types or relays; we are going to experiment with switching relays, which are used to control devices such as motors, electrical appliances, lights etc.
One of the main advantages of a switching relay is that it can control a circuit/device, for example 230V AC devices such as fans, lights, heaters and other household appliances, with the output of a separate circuit, such as a low-power signal of 5V DC. Separate in this sense means that they have different power supply and ground.
2. Driving a relay with Arduino
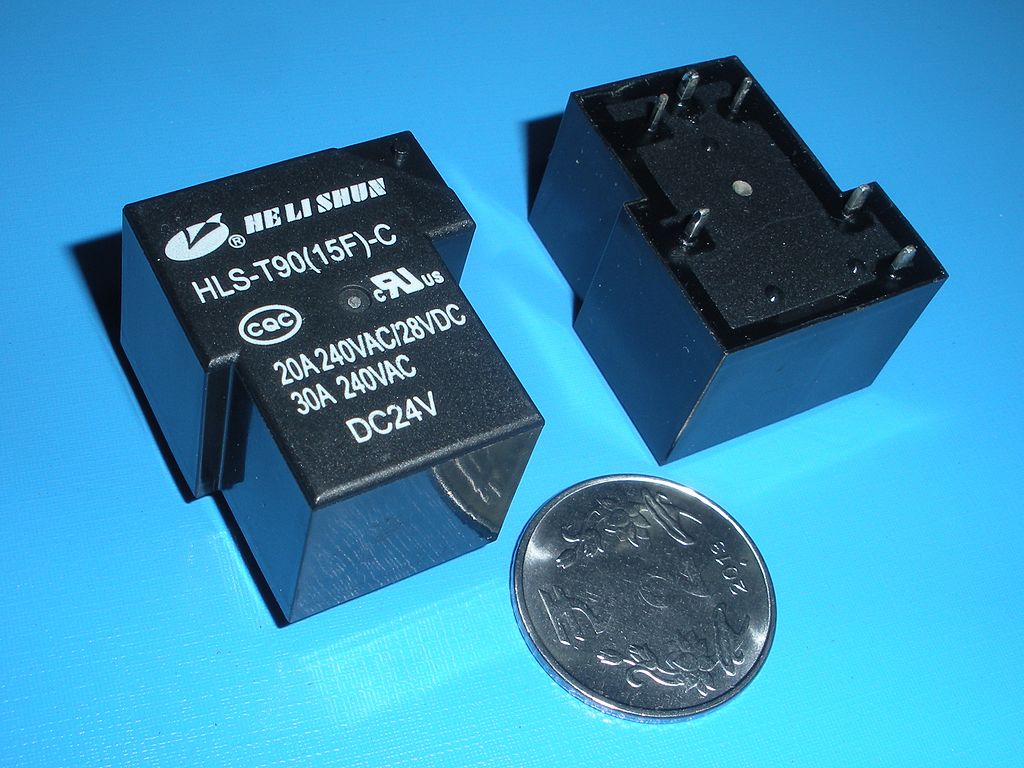
The relays we will use are electromechanical (click-click). These relays support a wide
range of signal characteristics, from low voltage/current to high
voltage/current and from DC to GHz frequencies. For this reason, we can
almost always find an electromechanical relay that matches what we want to build.
Our control circuit is the Arduino Uno board which outputs 5V DC. More specifically:
Each of the 14 digital pins on the Uno can be used as an input or output, using pinMode(),digitalWrite(), and digitalRead() functions. They operate at 5 volts. Each pin can provide or receive 20 mA as recommended operating condition and has an internal pull-up resistor (disconnected by default) of 20-50k ohm. A maximum of 40mA is the value that must not be exceeded on any I/O pin to avoid permanent damage to the microcontroller.
Usually this amount of current (20mA) is not enough to drive an electromechanical relay, which relies on mechanical contacts as a switching mechanism (coil > magnetic field > contacts > click-click!). This is why the Arduino output signal needs to be amplified.
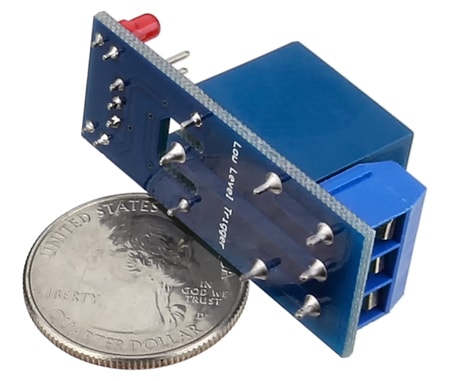
Fortunately, there are relay breakout boards do this for us and are ready to use with an Arduino board.
3. The relay module
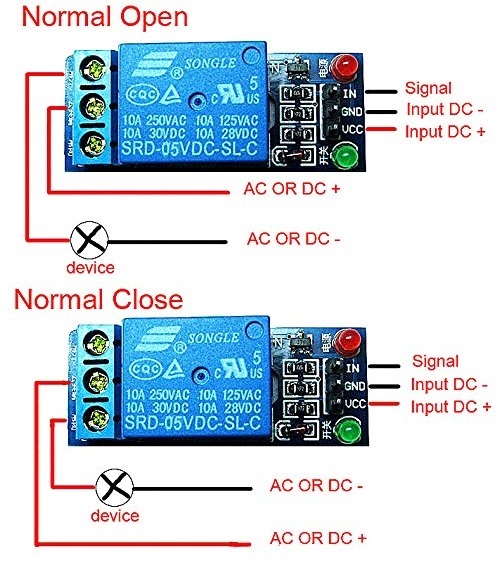
The module with the SRD-05VDC-SL-C relay has three high voltage terminals (NC, C, and NO) which connect to the device you want to control. The other side has three low voltage pins (Ground, Vcc, and Signal) which connect to the Arduino.
- NC: Normally closed 120-240V terminal
- NO: Normally open 120-240V terminal
- C: Common terminal
- Ground: Connects to the ground pin on the Arduino
- 5V Vcc: Connects the Arduino’s 5V pin
- Signal: Carries the trigger signal from the Arduino that activates the relay
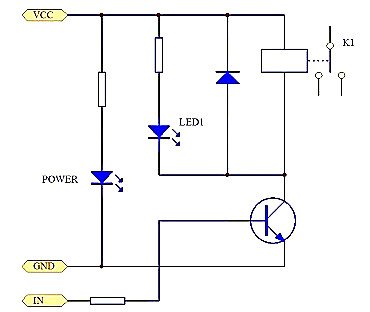
Inside the relay is a 120-240V switch that’s connected to an electromagnet. When the relay receives a HIGH signal at the signal pin, the electromagnet becomes charged and moves the contacts of the switch open or closed.
Normally Open vs. Normally Closed
The relay has two different types of electrical contacts inside – normally open (NO) and normally closed (NC). The one you use will depend on whether you want the 5V signal to turn the switch on or turn the switch off. The 120-240V supply current enters the relay at the common (C) terminal in both configurations. To use the normally open contacts, use the NO terminal. To use the normally closed contacts, use the NC terminal.
Normally Open
In the normally open configuration, when the relay receives a HIGH signal the 120-240V switch closes and allows current to flow from the C terminal to the NO terminal. A LOW signal deactivates the relay and stops the current. So if you want the HIGH signal to turn ON the relay, use the normally open terminal.
Normally Closed
In the normally closed configuration, a HIGH signal opens the switch and interrupts the 120-240V current. A LOW signal closes the switch and allows current to flow from the C terminal to the NC terminal. Therefore, if you want the HIGH signal to turn OFF the 120-240V current, use the normally closed terminal.
4. SOS heatwave!
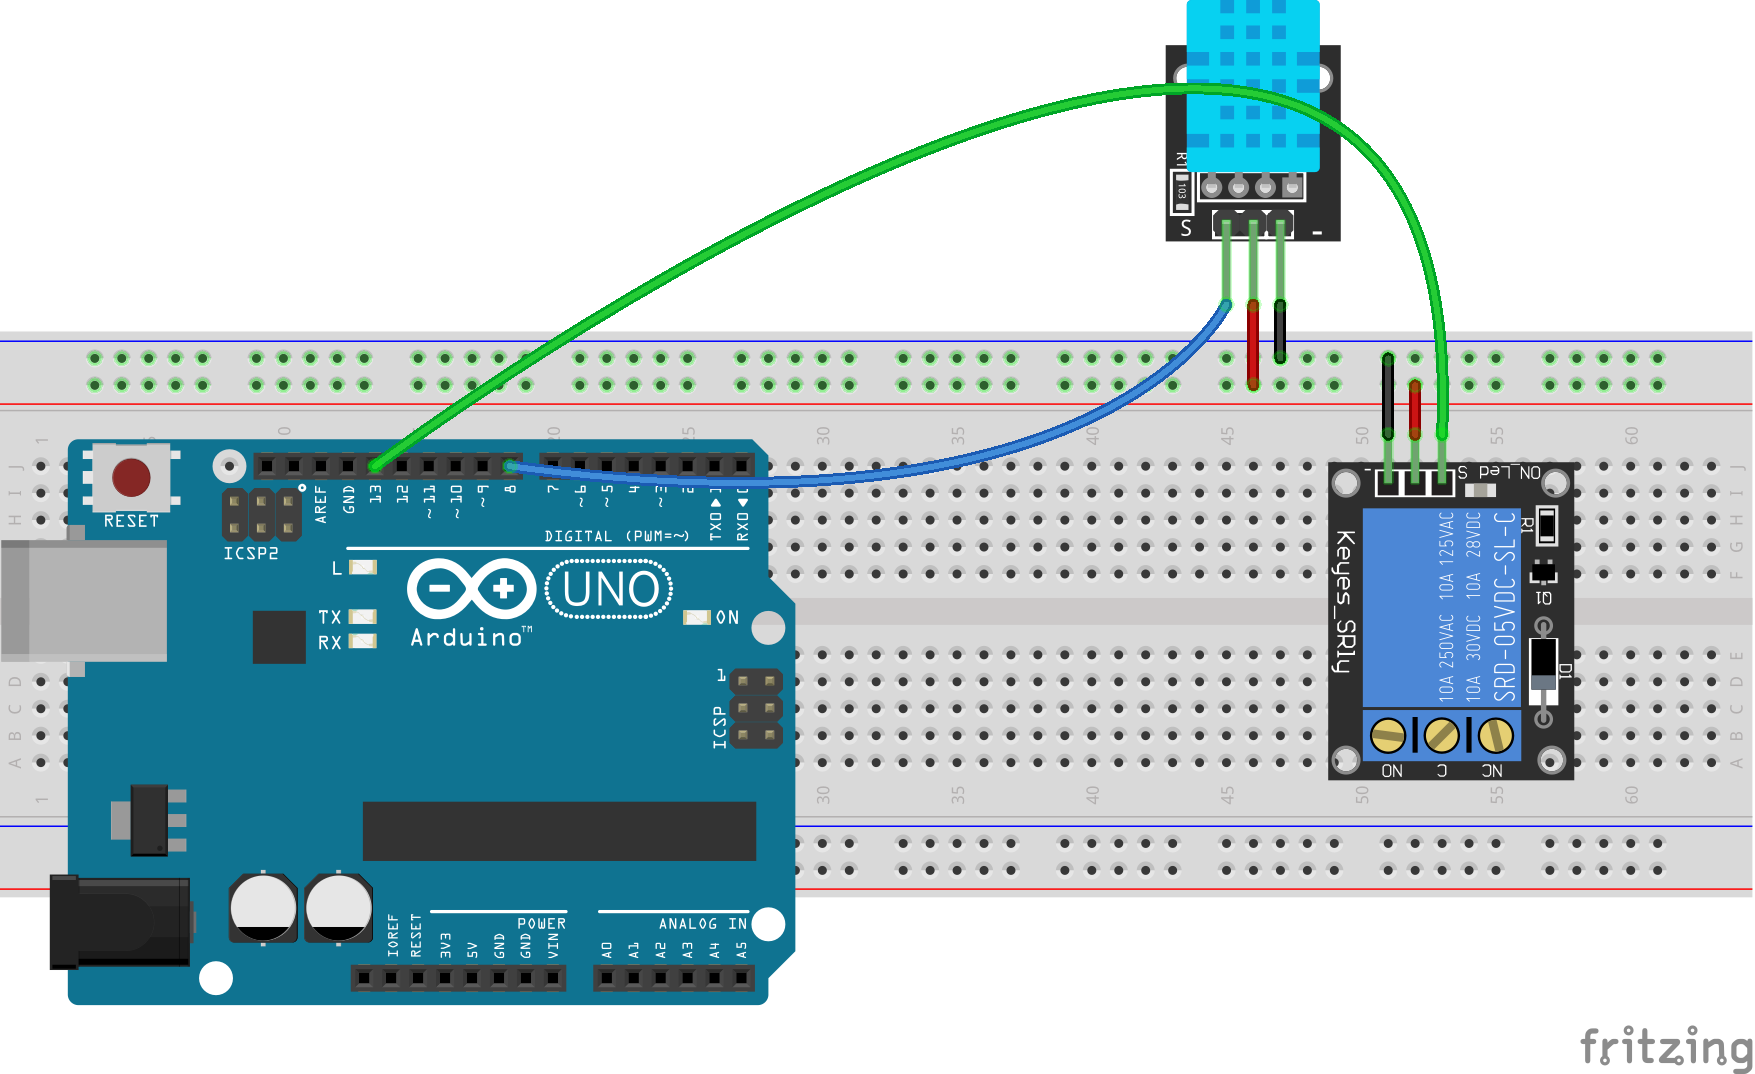
4.1. Sample sketch
#include "DHT.h"

#define DHTPIN 8                   // what digital pin DHT11 is connected to
#define DHTTYPE DHT11              // DHT 11

DHT dht(DHTPIN, DHTTYPE);

const int relayPin = 13;           // what digital pin relay module is connected to

void setup() {
  Serial.begin(9600);
  dht.begin();
  pinMode(relayPin, OUTPUT);
  digitalWrite(relayPin, LOW);      // Initialising to 0V as the relay module is high-level trigger
}

void loop() {
  delay(2000);                      // Wait 2 seconds between measurements.
  float t = dht.readTemperature();  // Read temperature as Celsius (the default)
  if (isnan(t)) {                   // Check if any reads failed and exit early (to try again).
    return;
  }
  Serial.println(t);                // Plot temperature values
  Serial.print(" ");
  if (t > 32) {                     // if temperature > 32 degrees Celsius
    digitalWrite(relayPin, HIGH);   // turn A/C on
    delay(500);
  }
  else {
    digitalWrite(relayPin, LOW);   // else turn it off
    delay(500);
  }
}
4.2. Low-cost DIY air conditioner
Makeshift air-conditioner project:
