Submodule 4.2: Displaying Content - Media - Alerting Users
| Site: | ΕΛ/ΛΑΚ Moodle |
| Course: | Study / Web Design and Web Development |
| Book: | Submodule 4.2: Displaying Content - Media - Alerting Users |
| Printed by: | Guest user |
| Date: | Thursday, 16 July 2026, 10:05 PM |
Description
- Tables
- Cards
- Images
- Media Object
- Alerting Users
Tables
In this submodule, we will examine tables and Bootstrap classes for styling tables. We will be modifying the aboutus.html page to add a table.
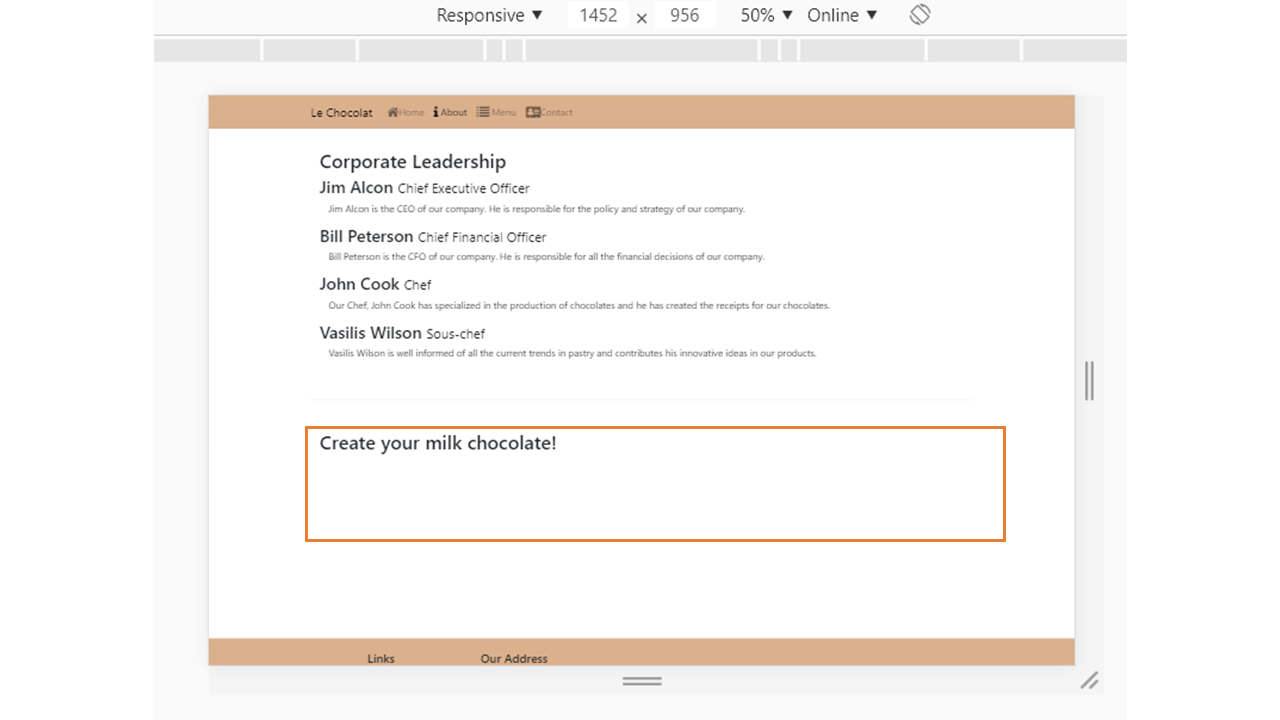
Let us get started by opening aboutus.html page in the code editor. we will add a new row of content after the Corporate Leadership row in the page. We first start by adding a row and columns to the page as follows:
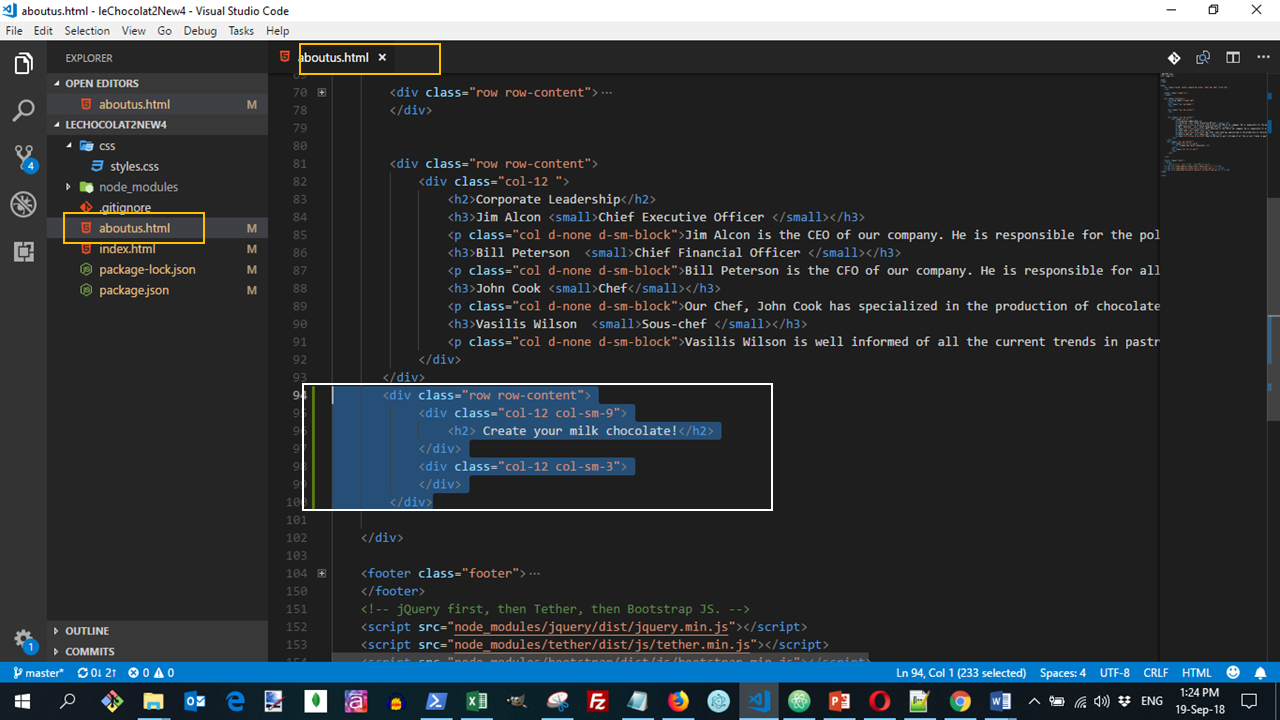
The above code will create a page displayed as:
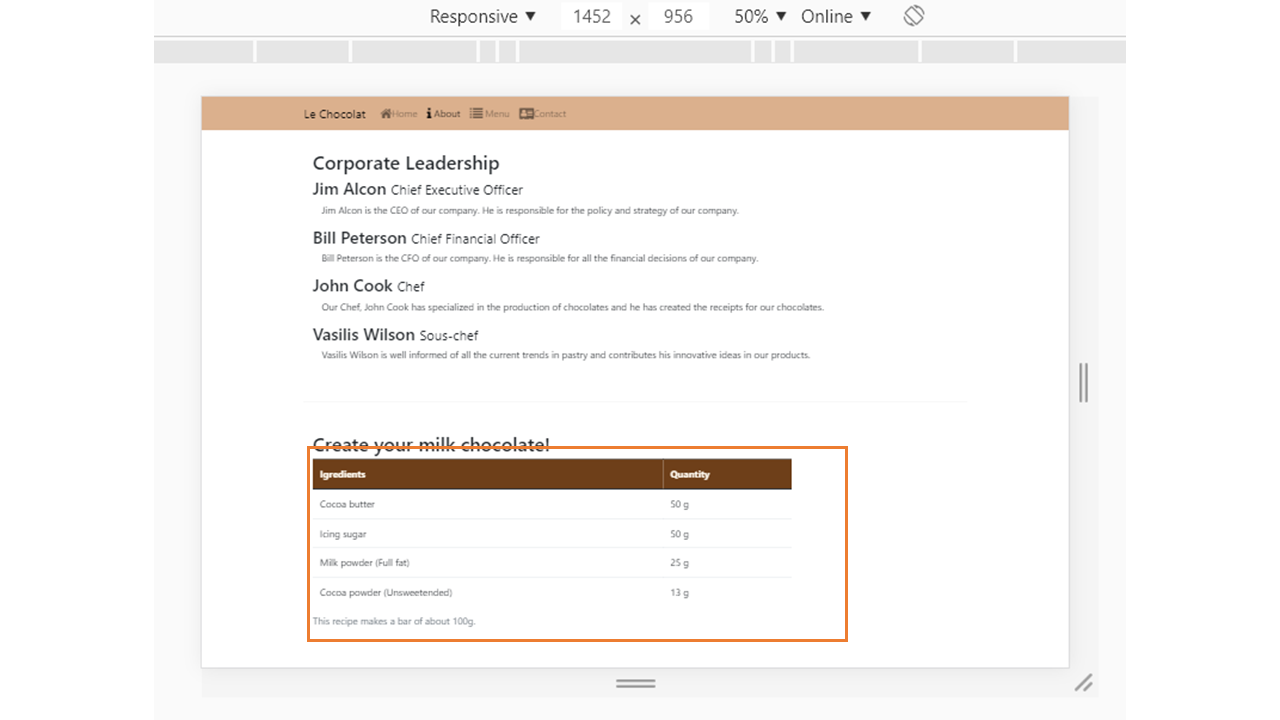
Inside the first column of this row, after the <h2> tag, insert the table as follows:
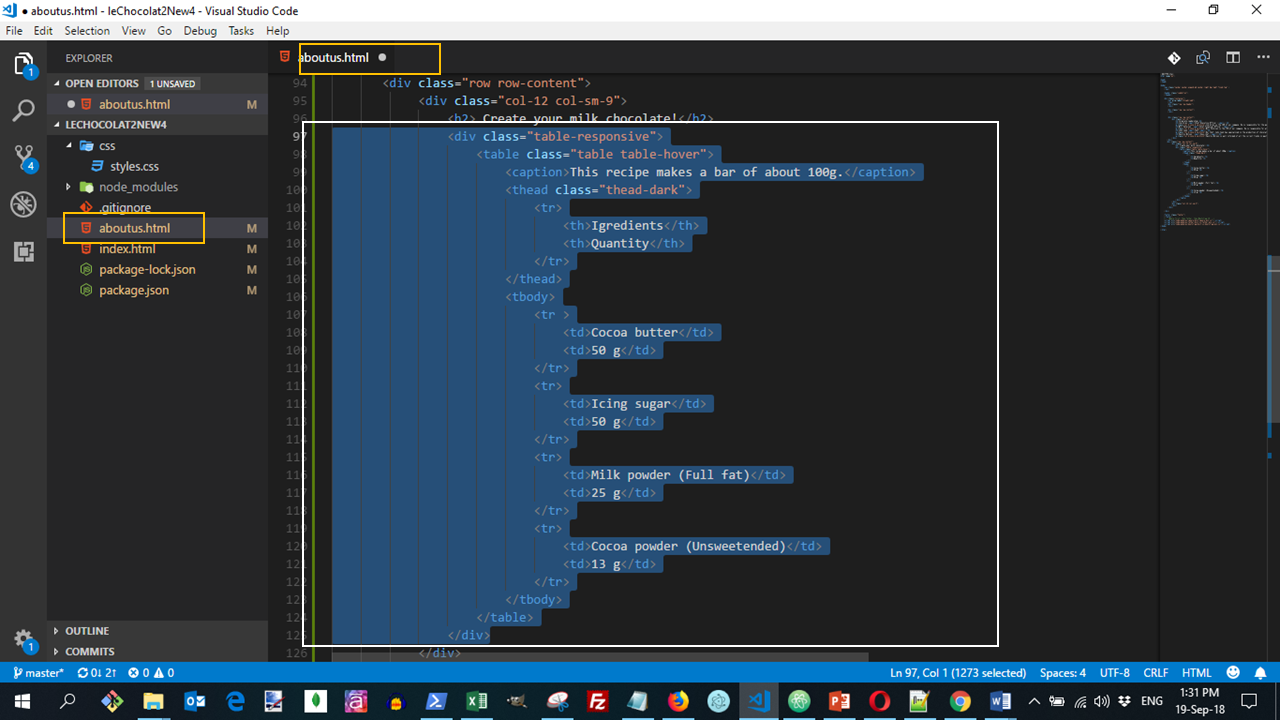
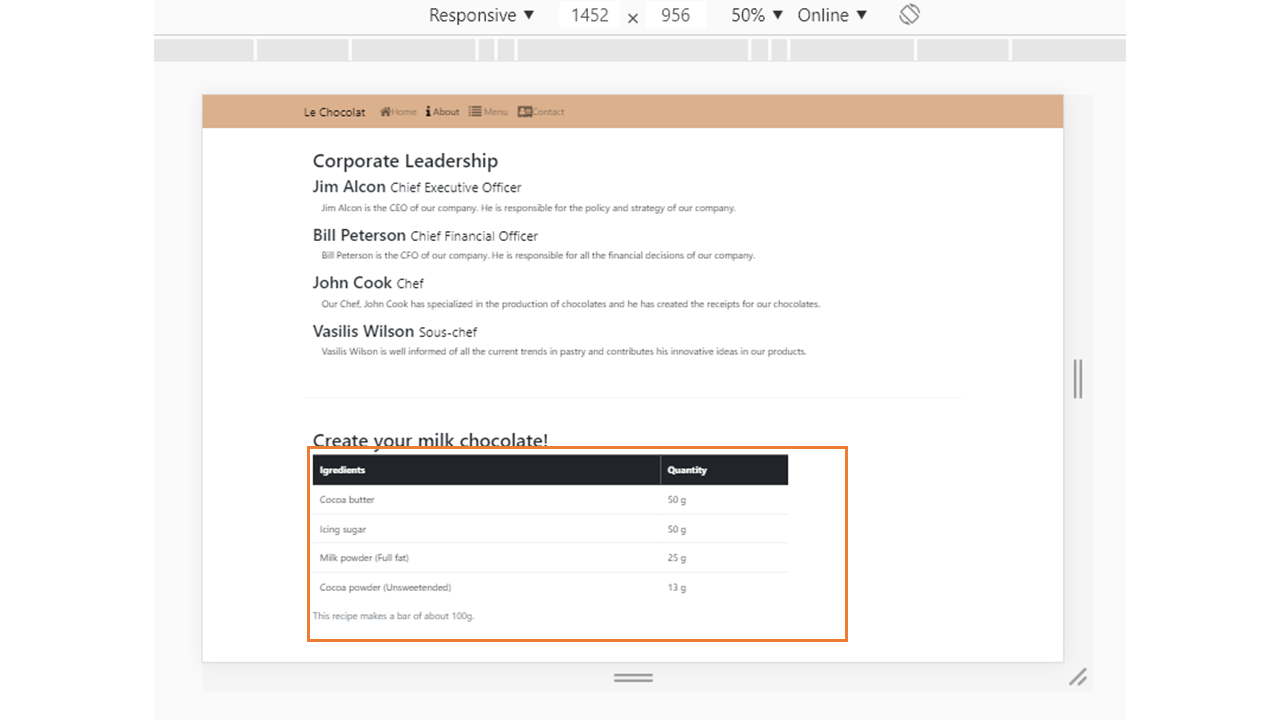
Note the use of table-responsive class to create a responsive table, and the table-hover and thead-dark classes for styling the table.
The above code will create a page displayed as:
To change the default colors for dark and hover table add this code to the styles.css file:
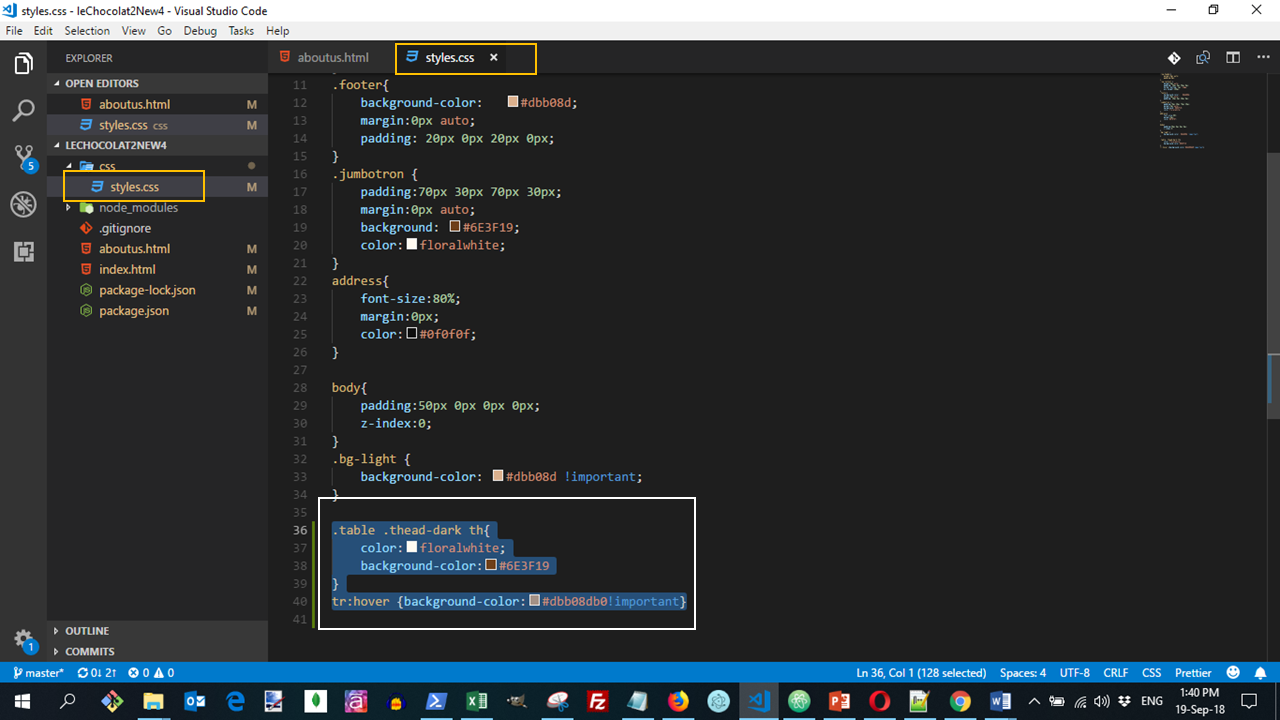
The above code will create a page displayed as:
Pseudo- classes
Pseudo- classes in CSS are used to change the appearance of an element at different events.
Example of events:
- When the user mouses over an element
- When a link is not visited, visited, hover or active
The general syntax for pseudo-classes is the name of our selector and the pseudo class with a colon between them.
We have already used the pseudo-class
tr:hover {background-color:#dbb08d !important}in our table. The above would change the color of the row when the user mouses over the element.
The most common usage of pseudo-classes is in the links.
Links have four different states.
- a: link: unvisited link
- a: hover: mouse over
- a: active: selected link
- a: visited: visited link

Note: In CSS the active state should always be written after the hover state. Hover state should be declared after link and visited states.
For more information: https://www.w3schools.com/css/css_pseudo_classes.asp
Exercise
- Open your editor, create a new file and save it as
exersice04.2.01.htmlin the folder "advanced". - Modify and save the file. The browser's output should be as shown in the following image:

Cards
Next we add a card to the second div in the first content row:
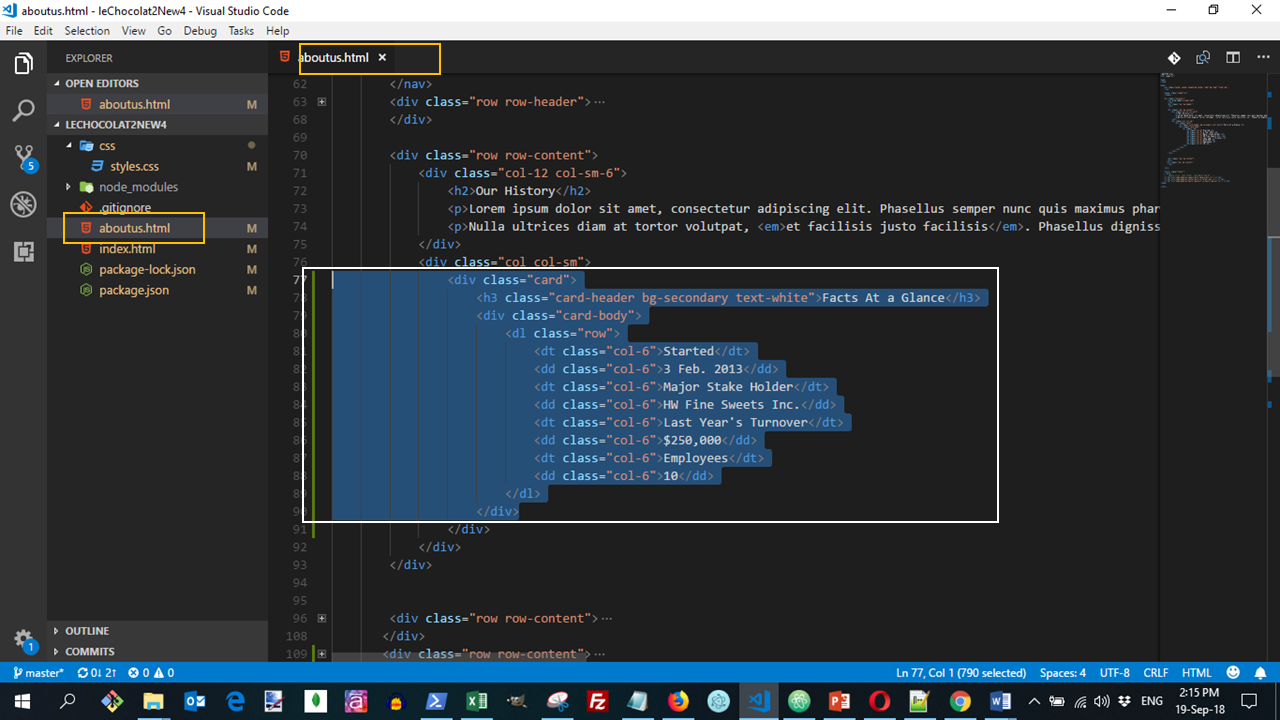
Notice the use of a description list, inside the "card-body".
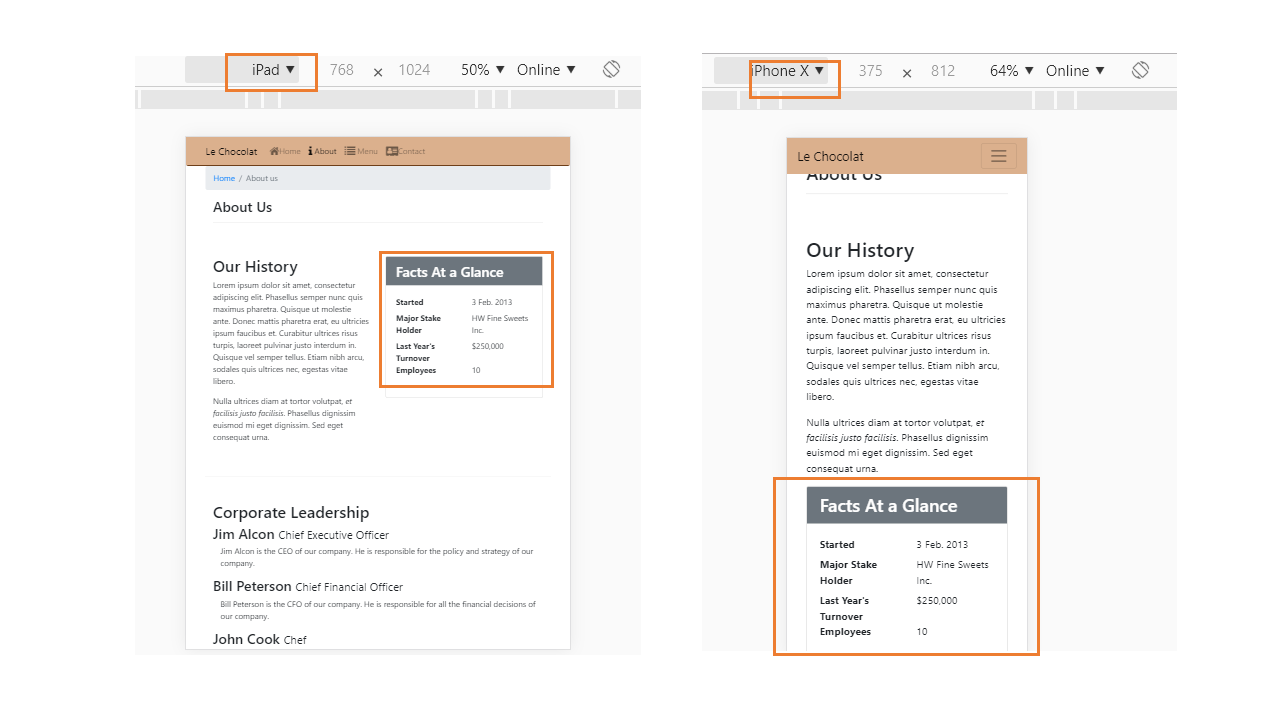
The above code will create a page displayed as:
Do commit the changes to your Git repository with the message "Tables and Cards"
Images
In this submodule, we will explore the Bootstrap classes to support images on a website.
Download the images.zip file and unzip it in the leChocolat folder. This should create a folder named images there.
We will now add the logo to the Jumbotron. In index.html go to the header row inside the jumbotron and replace the second <div> column with the following code:
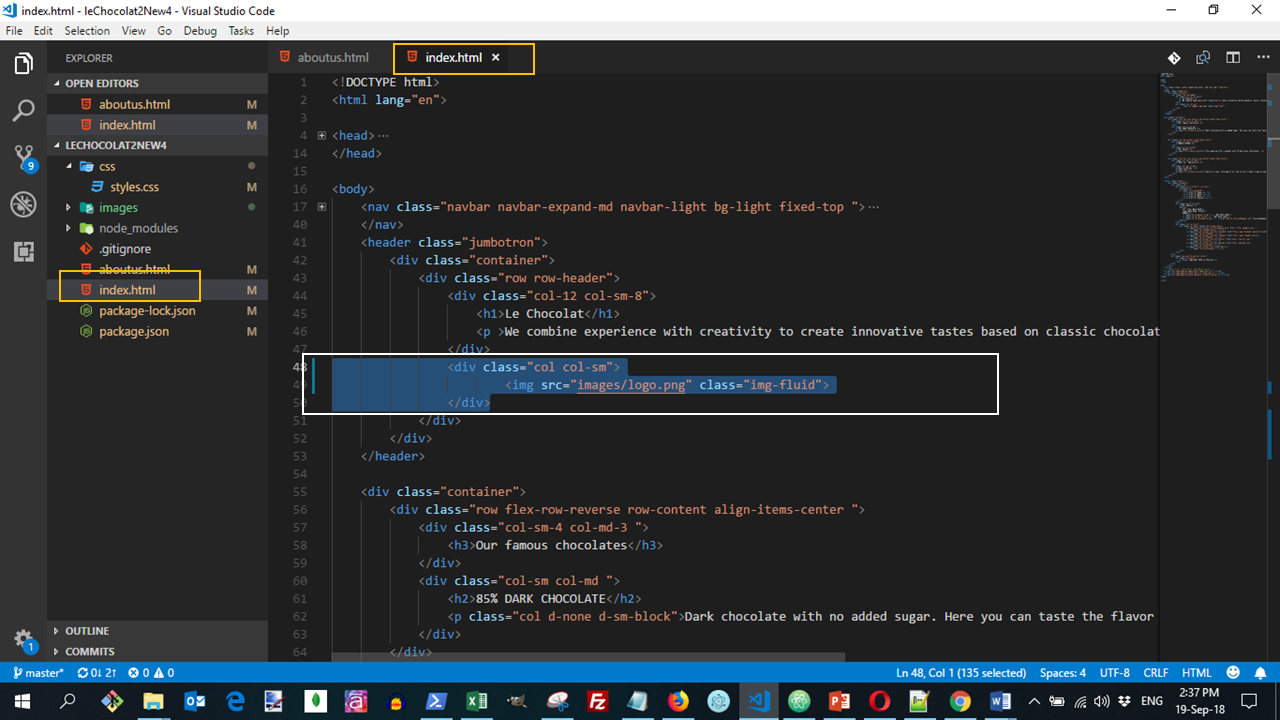
The above code will create a page displayed as:

Next, we will add the logo to the navbar where we display the Le Chocolat brand. Go to the navbar and replace the code there for the <a> tag with the "navbar-brand" class with the following code:
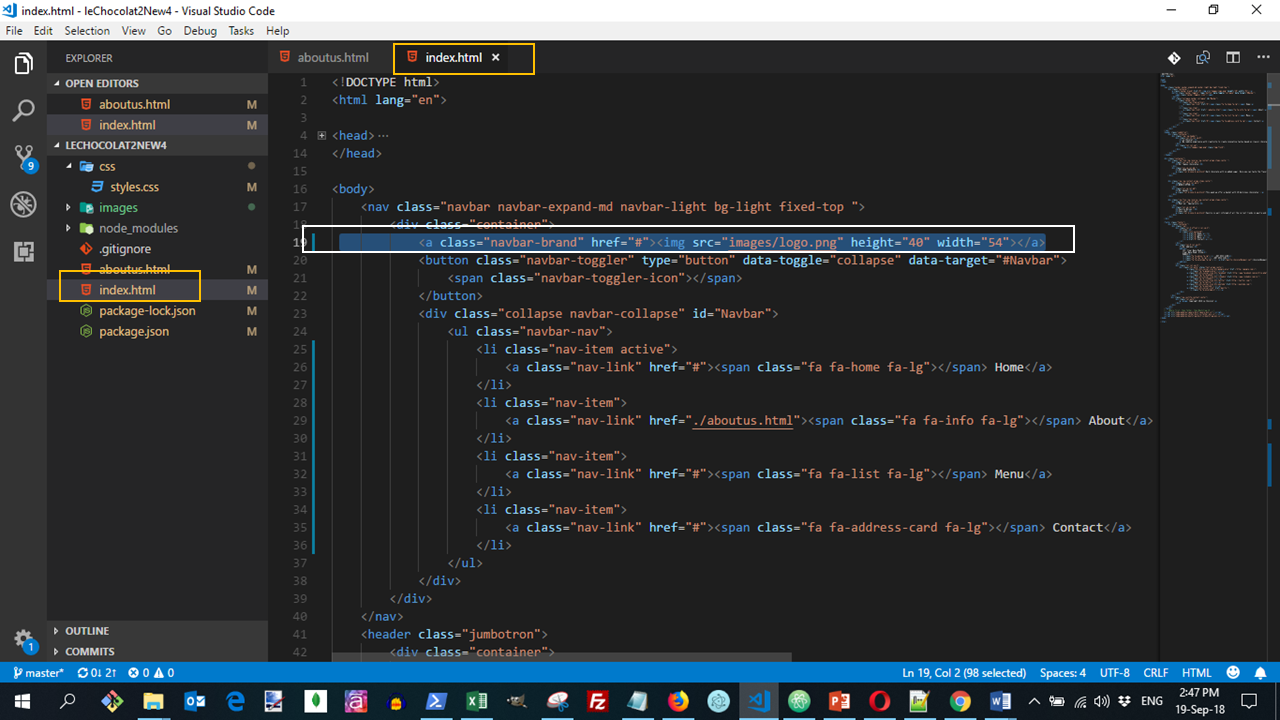
The above code will create a page displayed as:

Repeat the above two steps for the aboutus.html page also to update its navbar and jumbotron. Don't forget to update the link in the navbar!!
Media Object
Next, we will work with the content on the web page and use the media object classes to style the content in the content rows.
Go to the index.html, to the first content row, and replace the content in the second column containing the description of 85% DARK CHOCOLATE with the following code:
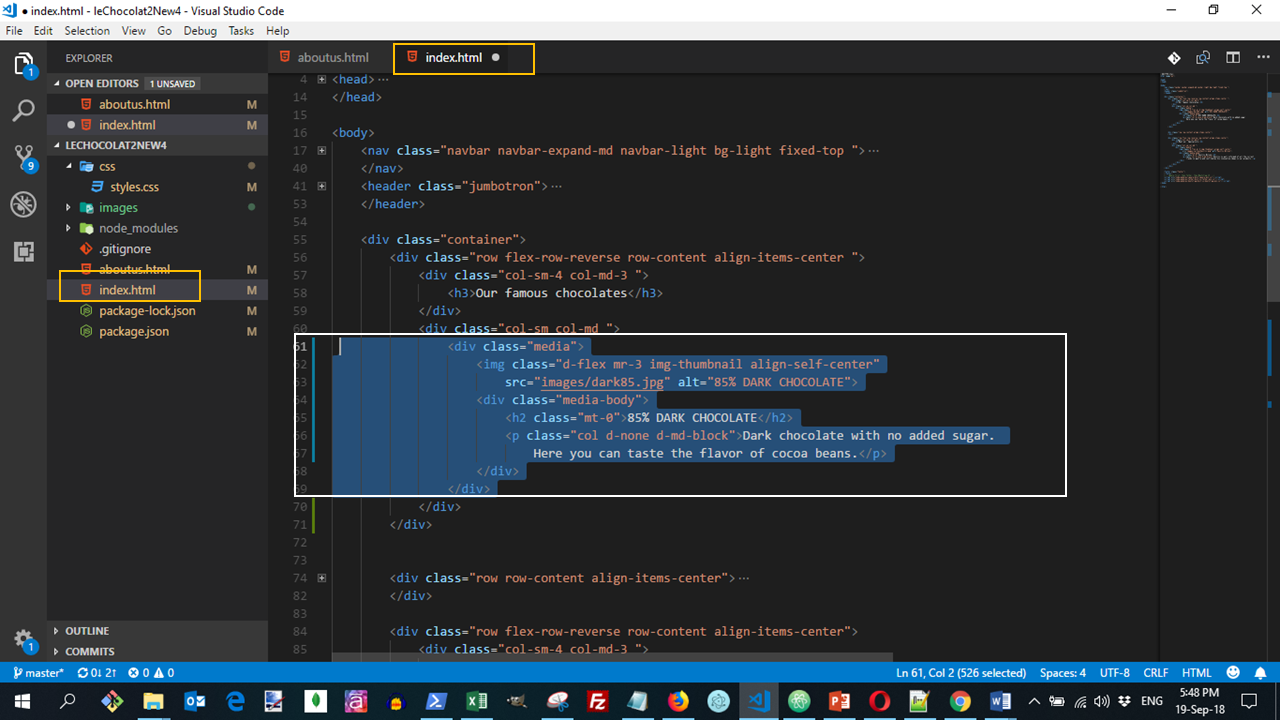
Note the use of the media class and the related Bootstrap classes to style the content.
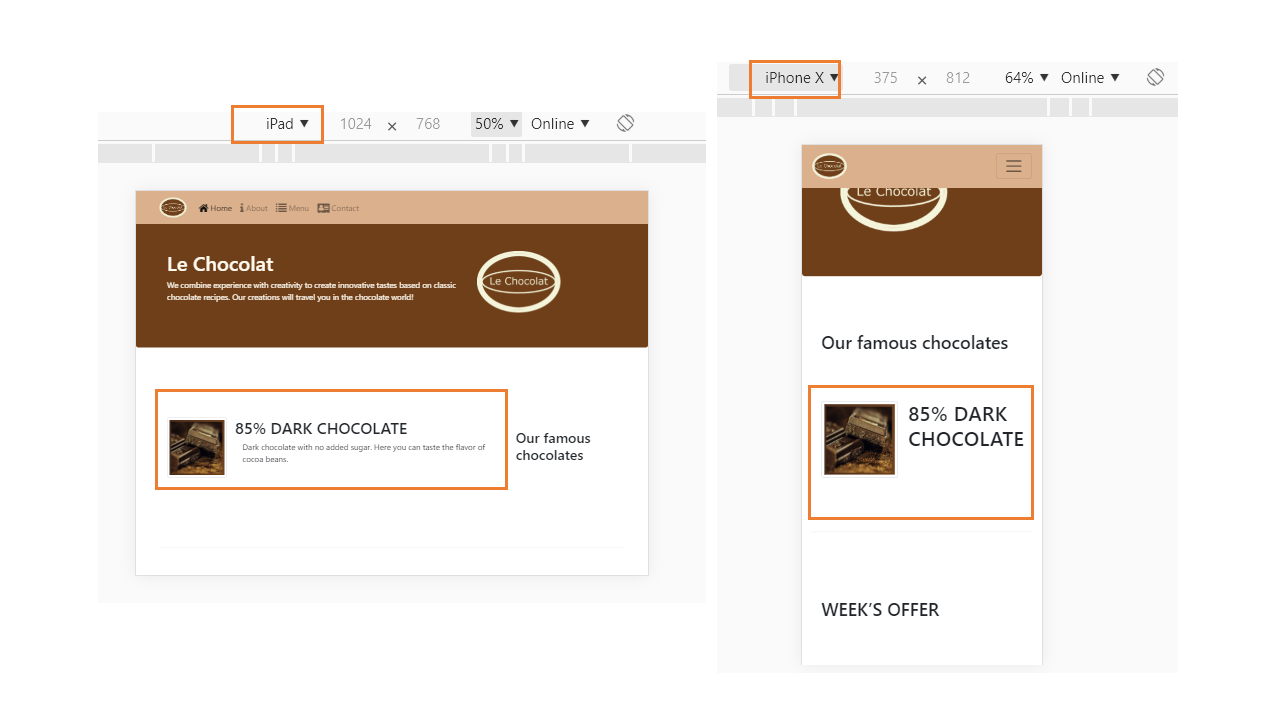
The above code will create a page displayed as:
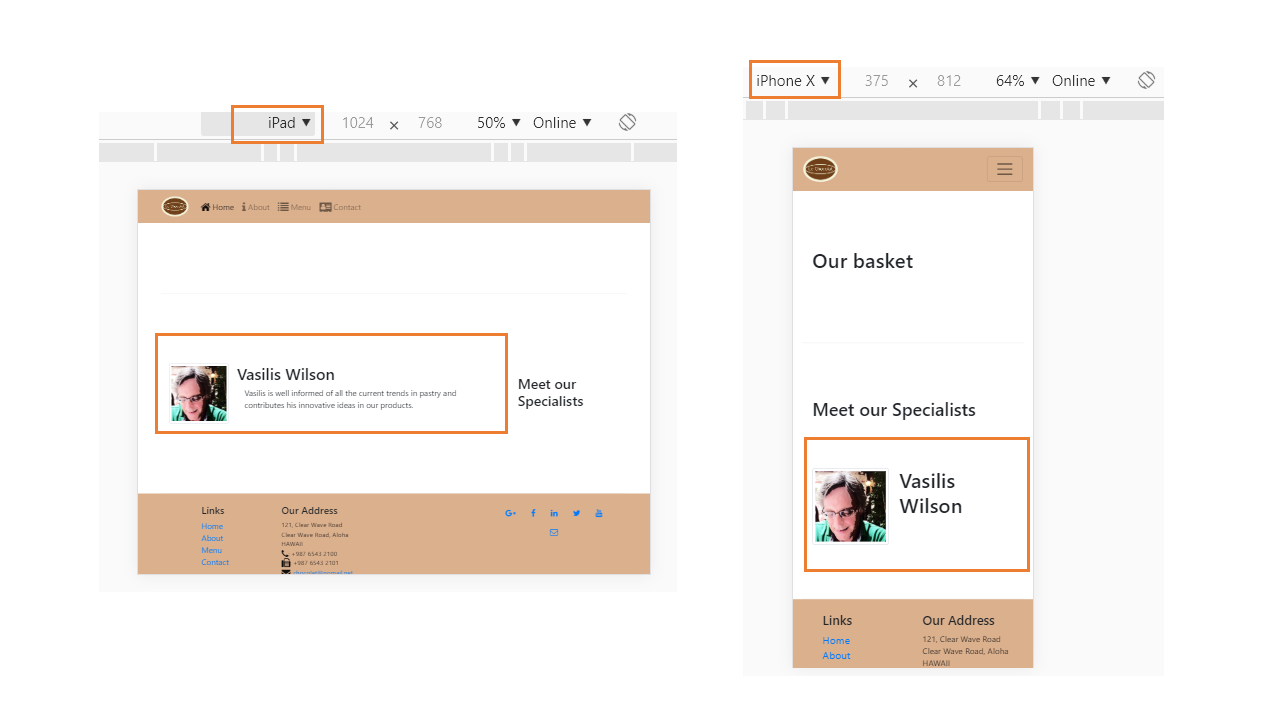
Next, we will go to the third row and replace the contents of the second column containing the description about Vasilis with the following content:
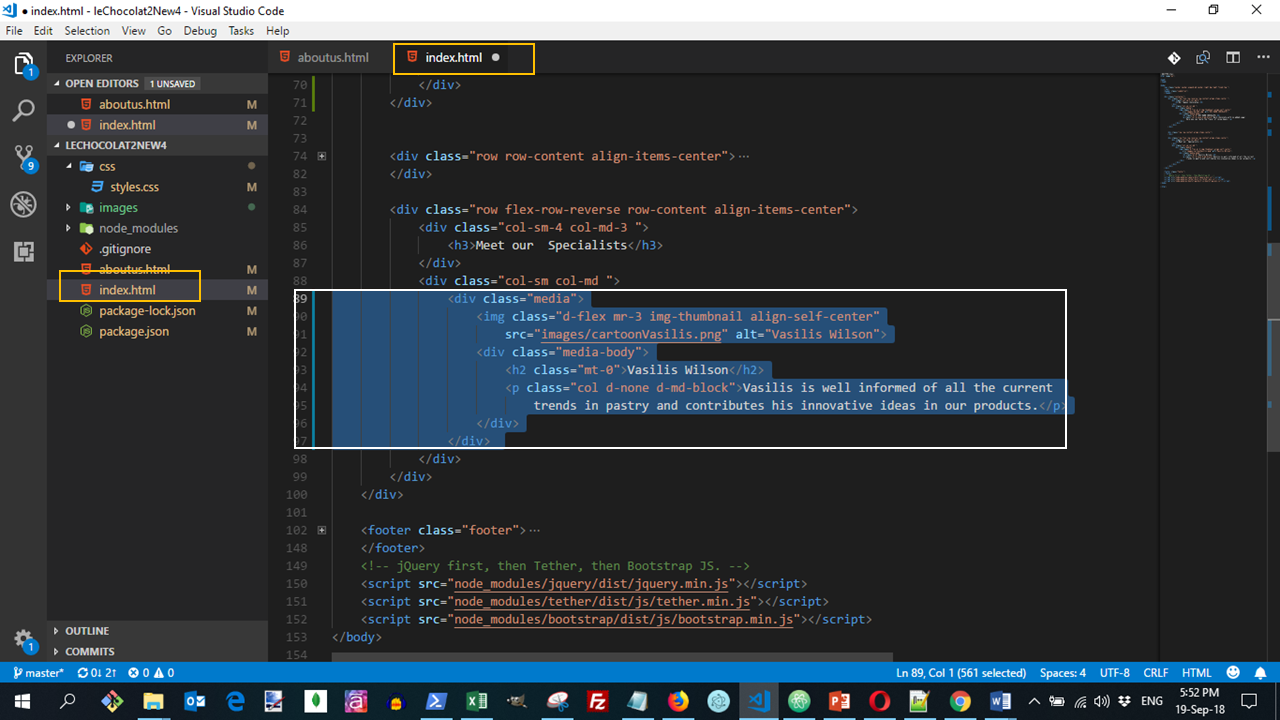
The above code will create a page displayed as:
Finally, do a Git commit with a message "Images and Media".
Alerting Users
In this short lesson, we will examine the use of badges as a way of alerting users.
We will continue to edit the index.html file. In this file, we will add a badge HOT next to the name of the dish 85% DARK CHOCOLATE in the first content row. To do this, add the following code inside the <h2> containing the name of the dish:
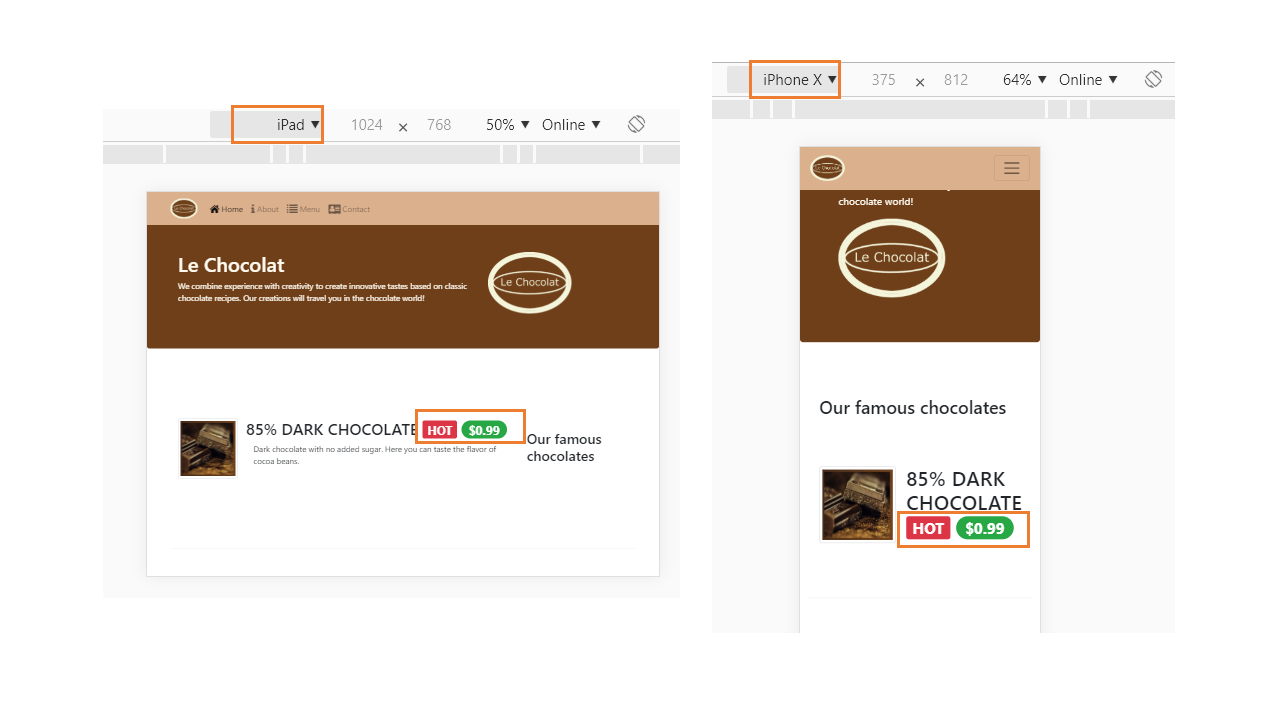
<span class="badge badge-danger">HOT</span>Next, we will add a badge as a badge-pill right next to the earlier tag in the web page. Add the following code to the <h2> tag:
<span class="badge badge-pill badge-success">$0.99</span>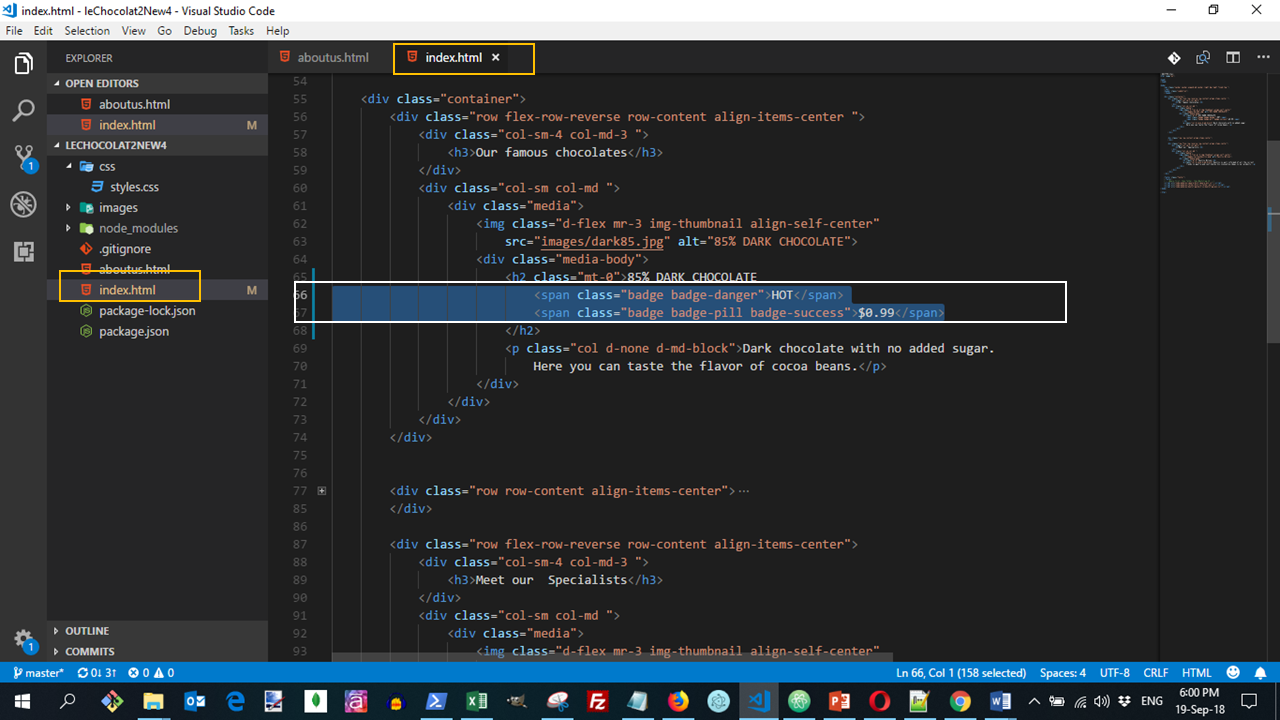
The above code will create a page displayed as:
Do commit the changes to the Git repository with the message "Alerting Users".
Further readings
Official resources