Submodule 16.2: Basics of p5.js
Our working space
Let's create our p5 site on our computer.
We will create and preview the previous canvas as an example.
Follow the next steps
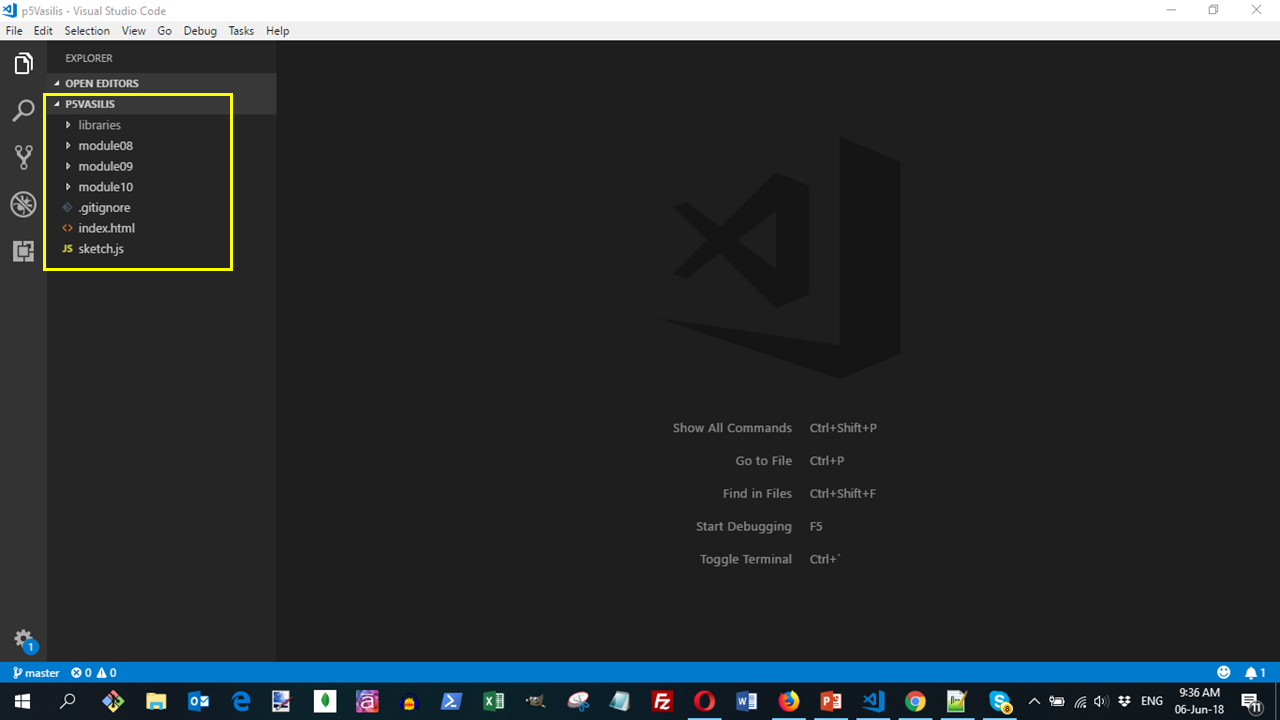
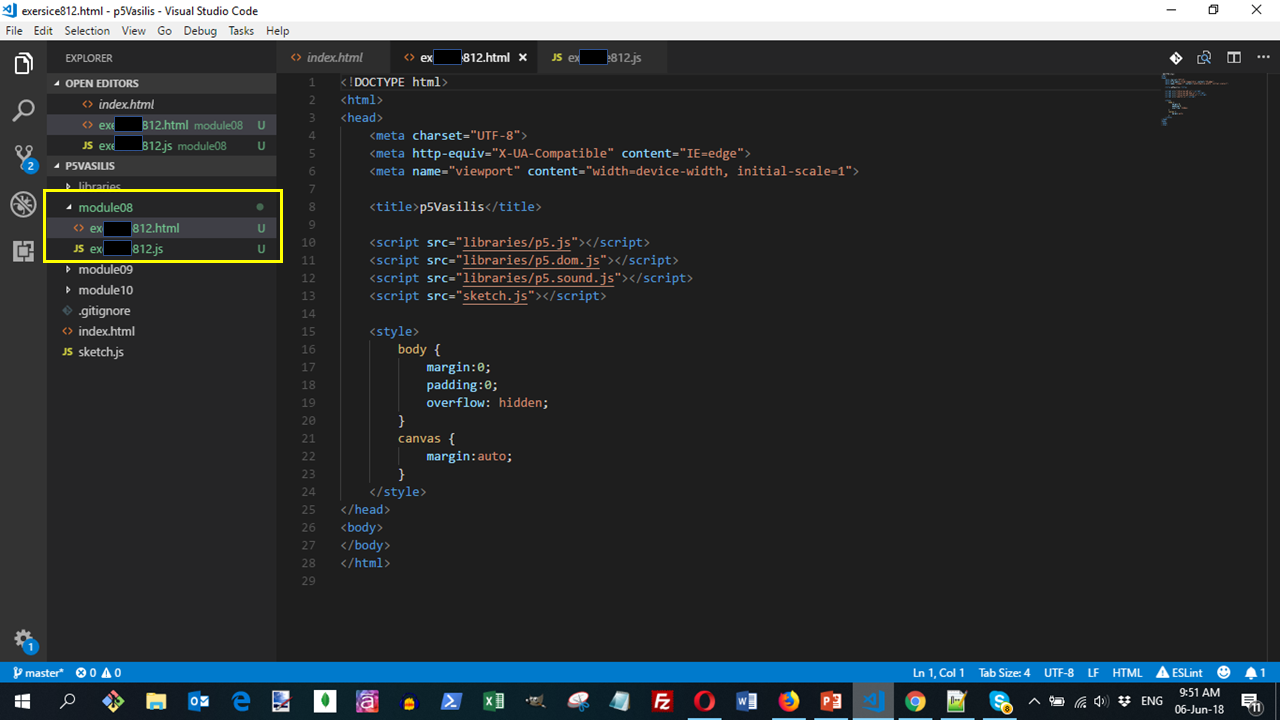
Open your Visual Studio editor and the p5yourName folder
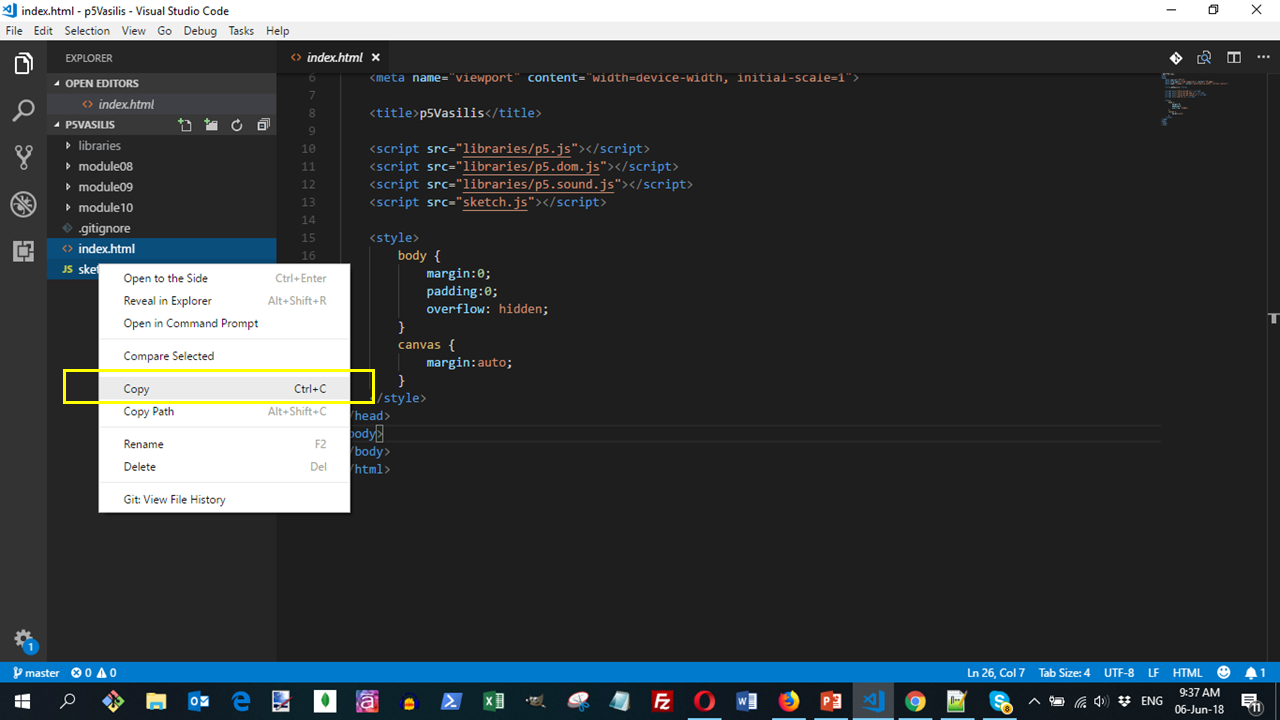
Press Shift and select the index.html and sketch.js files. Do right click and click copy the files.
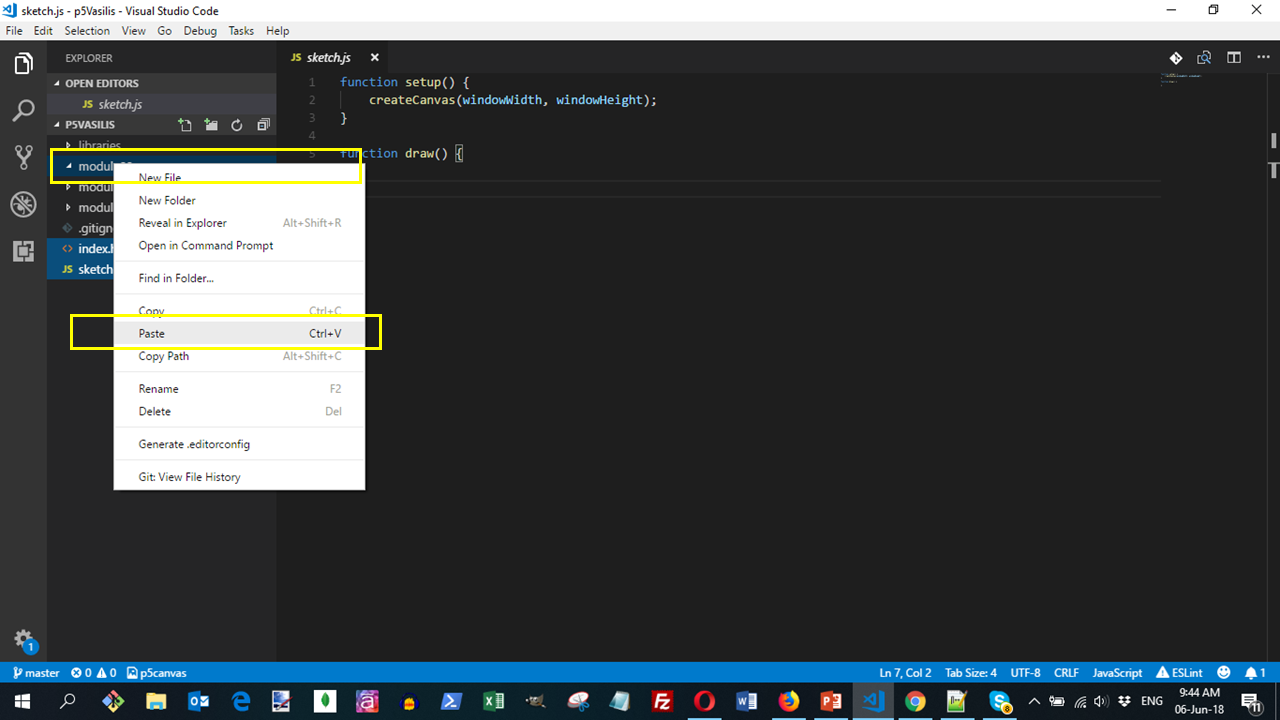
Right-click on the module08 folder and select paste.
Rename the files in the module08 folder. The index.html file to ex812.html and the sketch.js to ex812.js
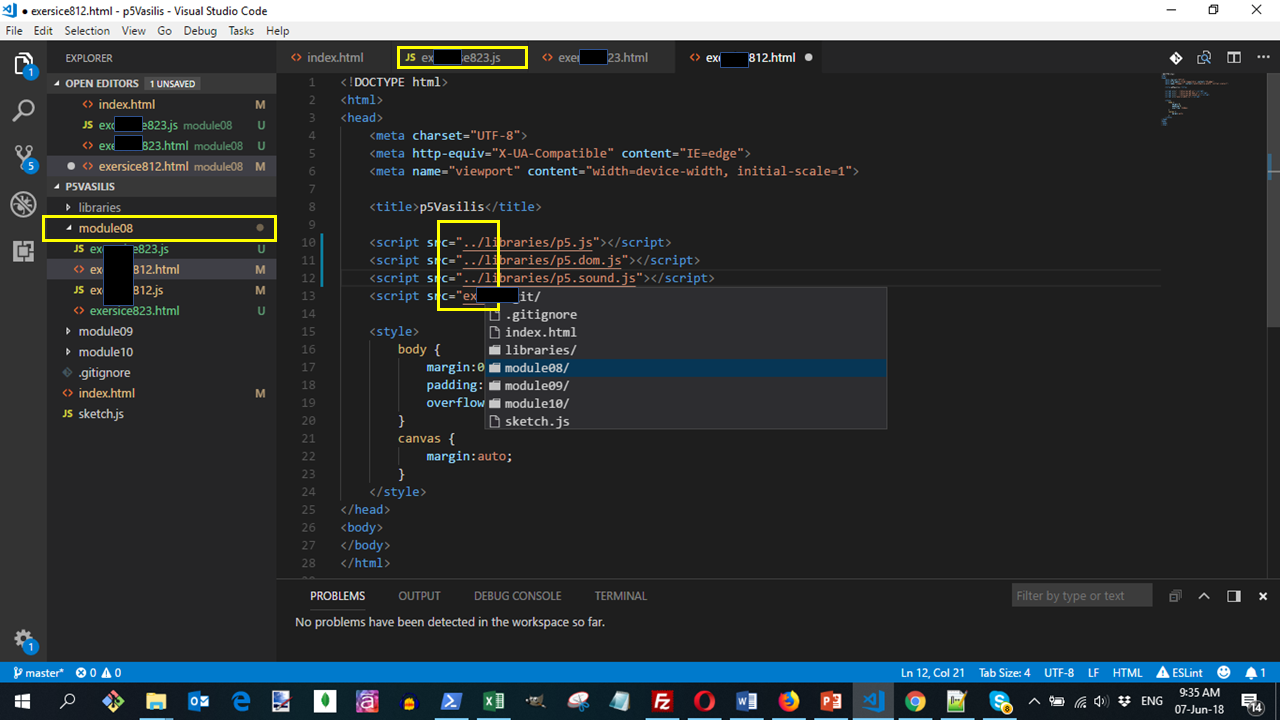
In the ex812.html file, update the link to ex812.js from sketch.js

Update also the links for the p5 libraries
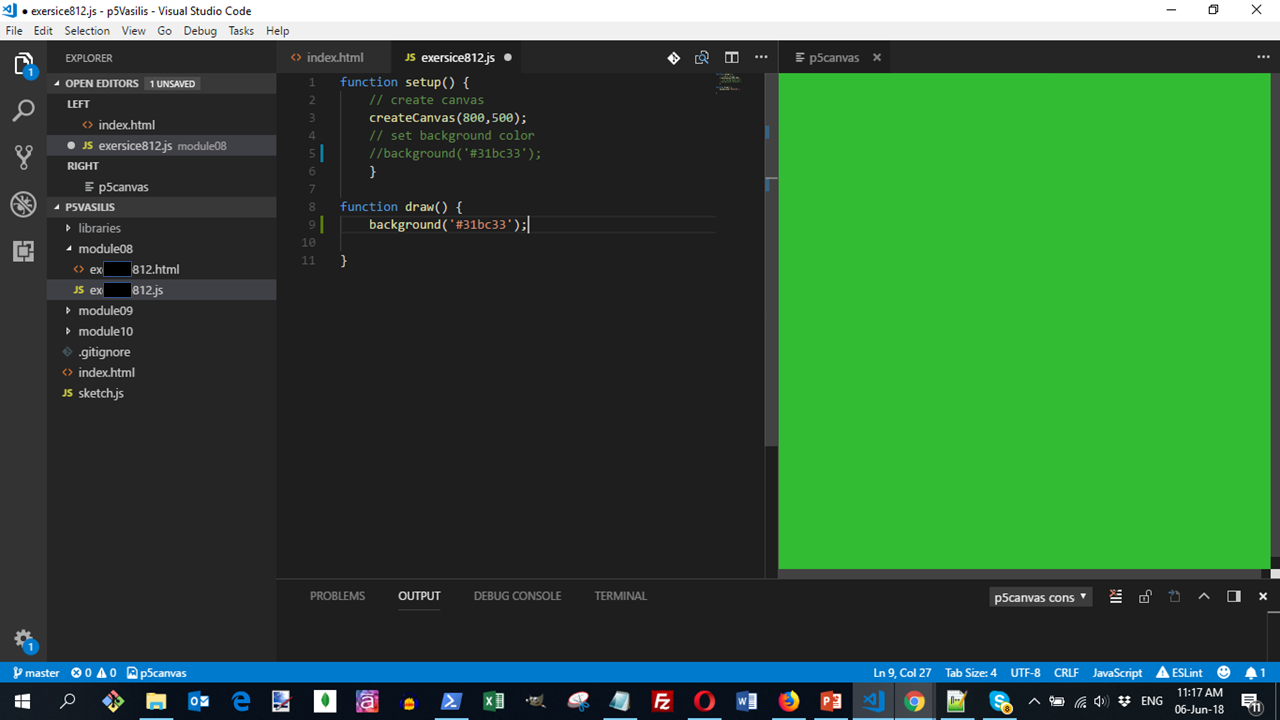
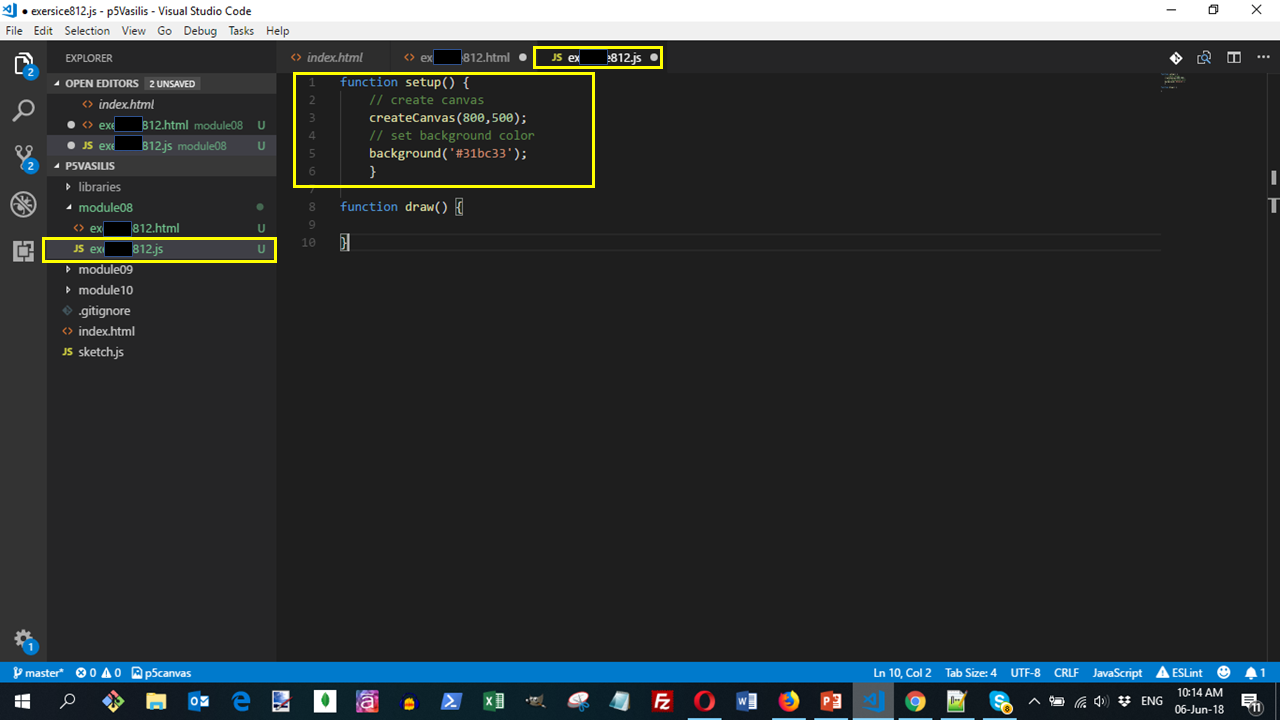
Update the code in the ex812.js
function setup() {
// create canvas
createCanvas(800,500);
// set background color
background('#31bc33');
}
Save every file
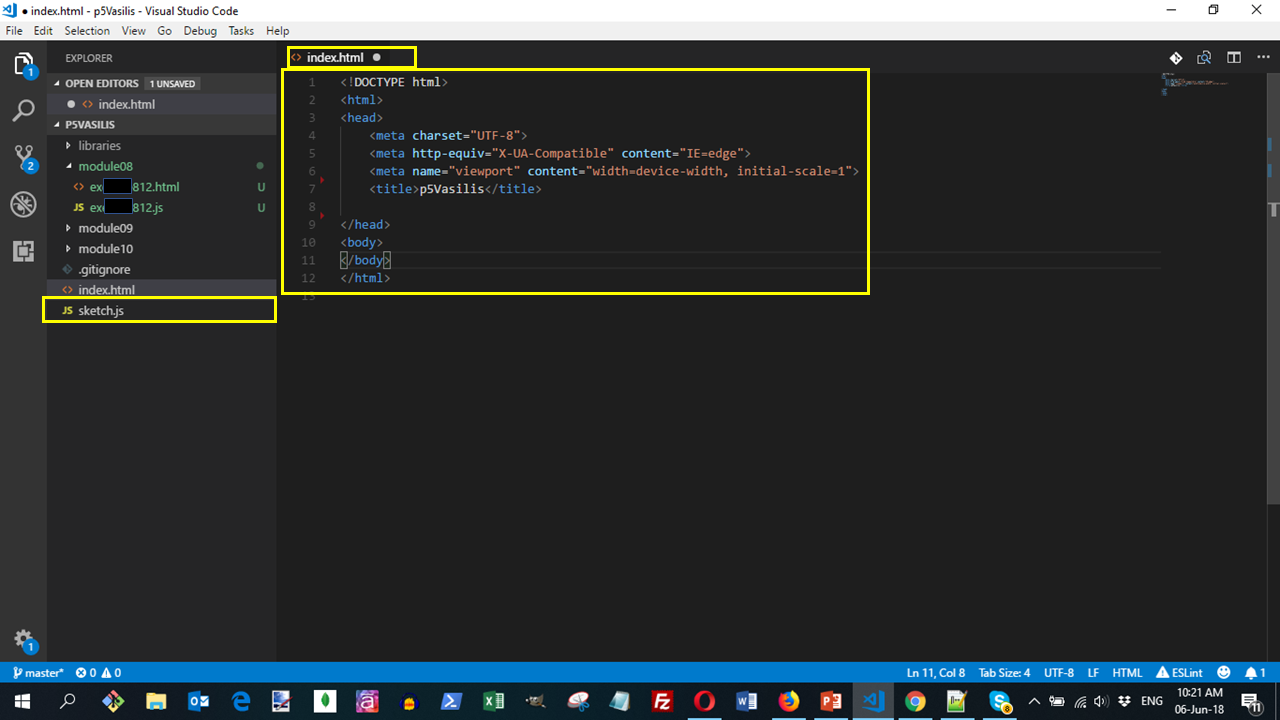
Modifications of the index.html file
Go to the index.html file and delete all <script> and <style> tags
Create <h2> tags for the p5 modules
<h2>Module 8</h2>
<h2>Module 9</h2>
<h2>Module 10</h2>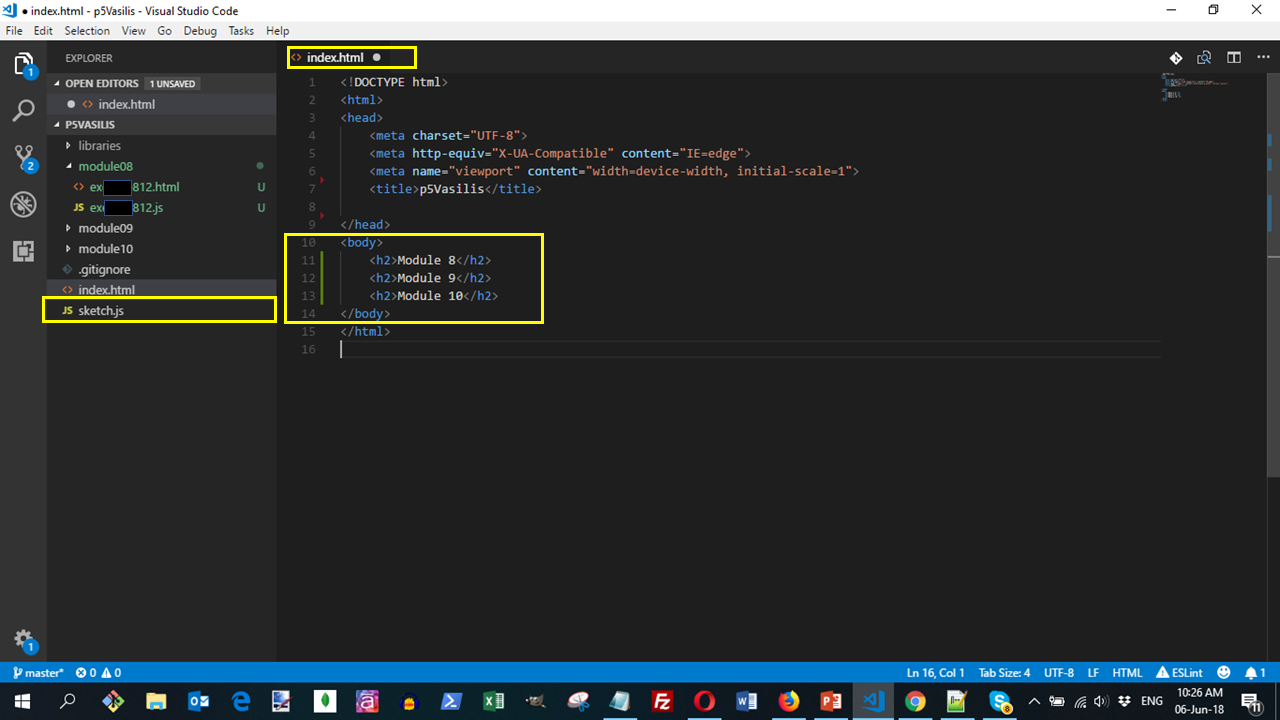
Create, under Module 8, a link to the ex812.html with an appropriate title
<ul>
  <li>
     <a href="module08/ex812.html" target="_blank">Ex812 - A canvas example</a>
   </li>
 </ul>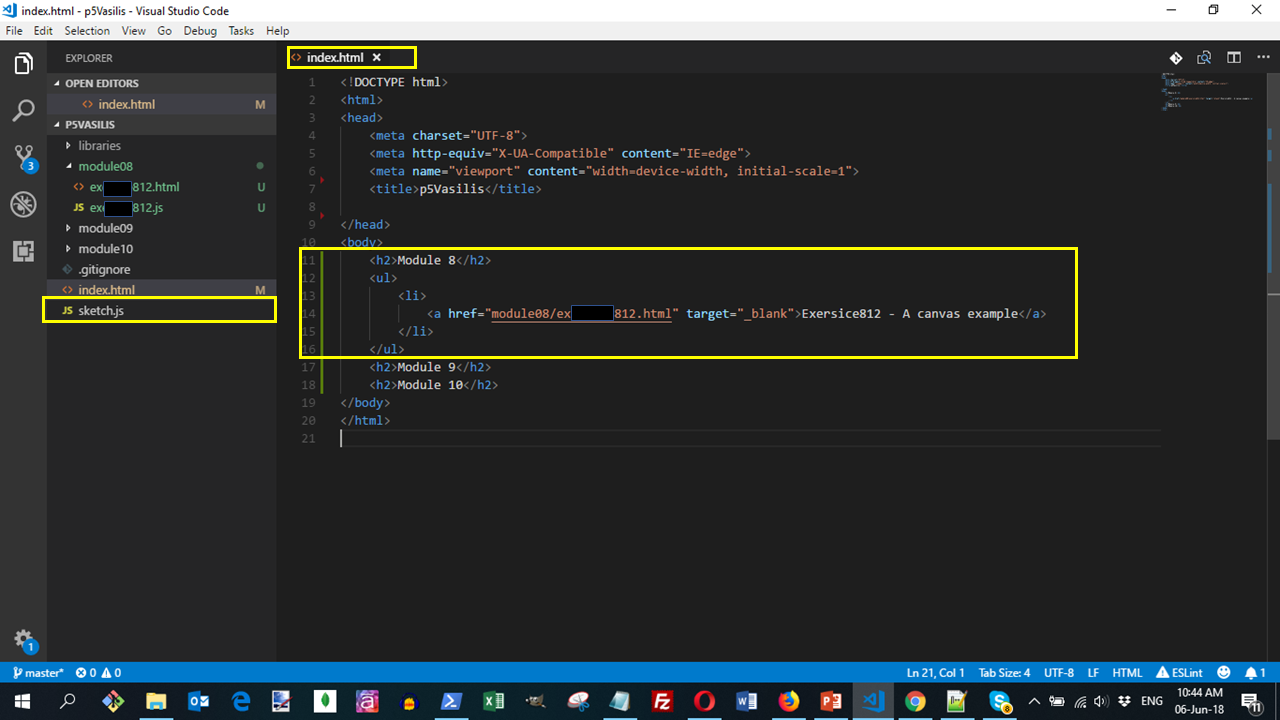
Save the index.html file
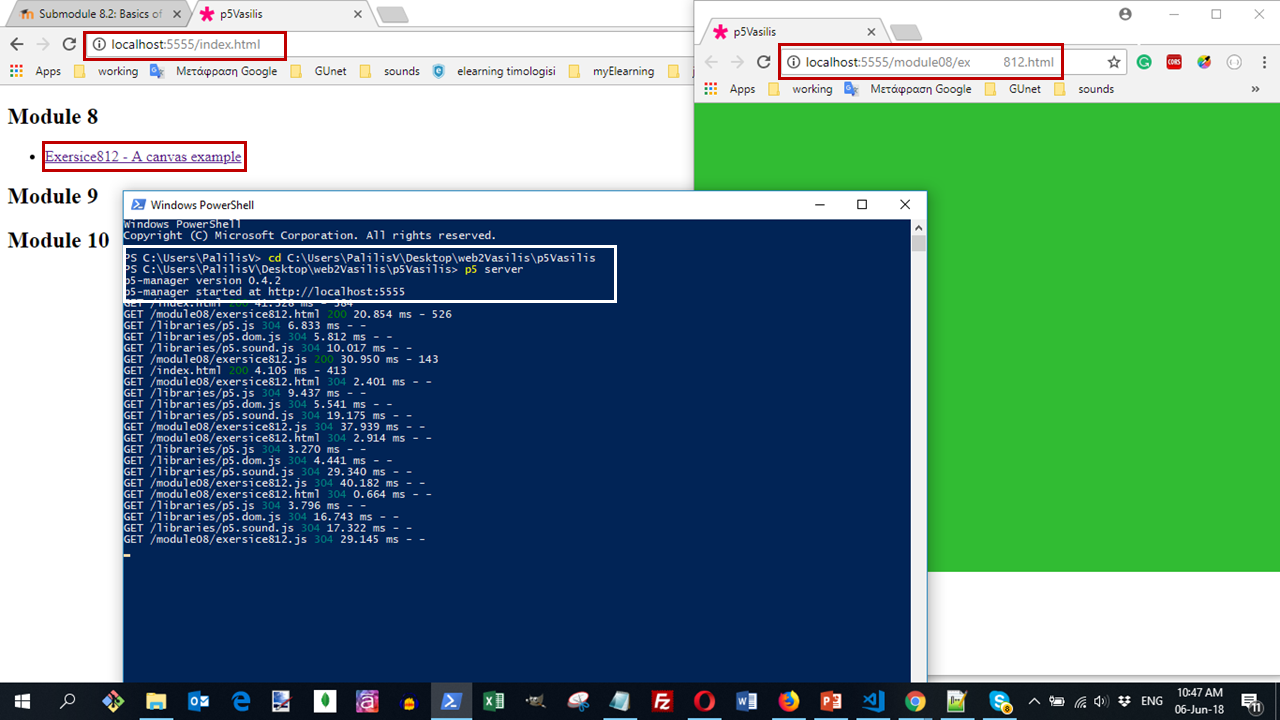
p5 Server
Open the p5 server (remember about this) and click on the link. You can see a working ex812.html !!
Commit
Do a Git commit with the message Initial Site Setup.
Visual Studio Editor
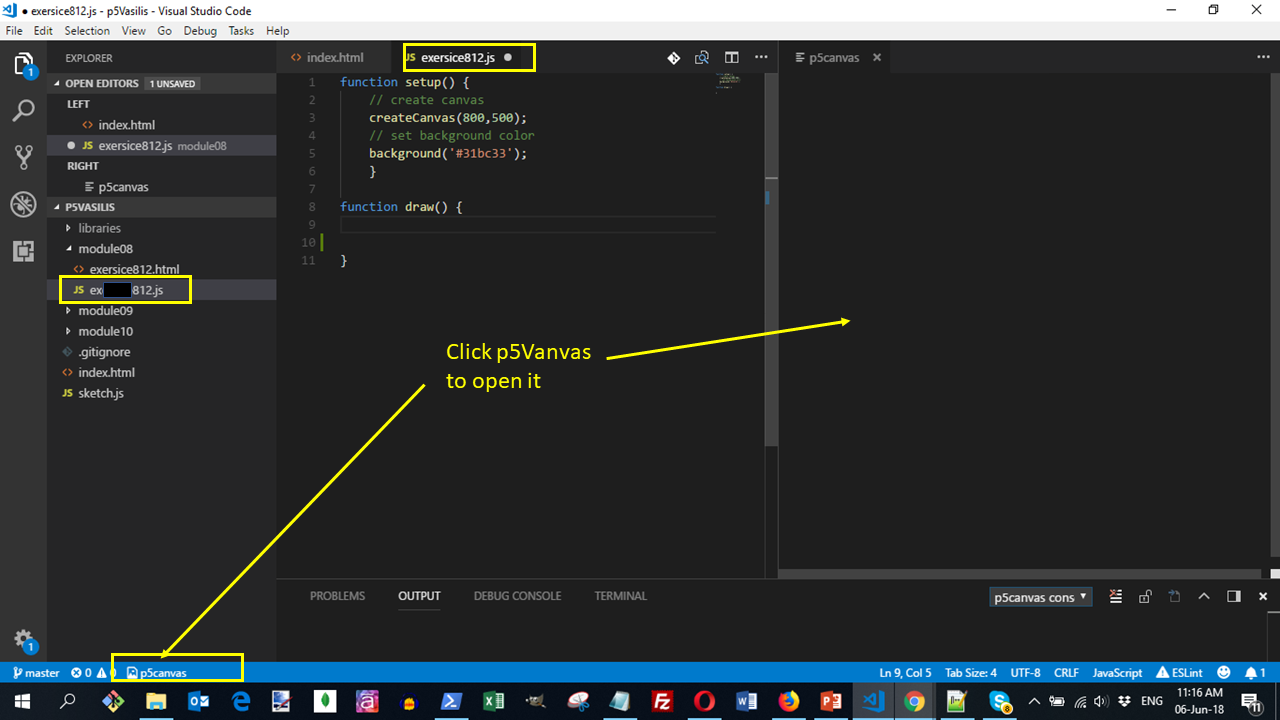
Open in your editor the Extensions and search for p5. install the p5Canvas extension that allows you to preview your p5js code on a canvas side by side with your code. The canvas refreshes live while editing.
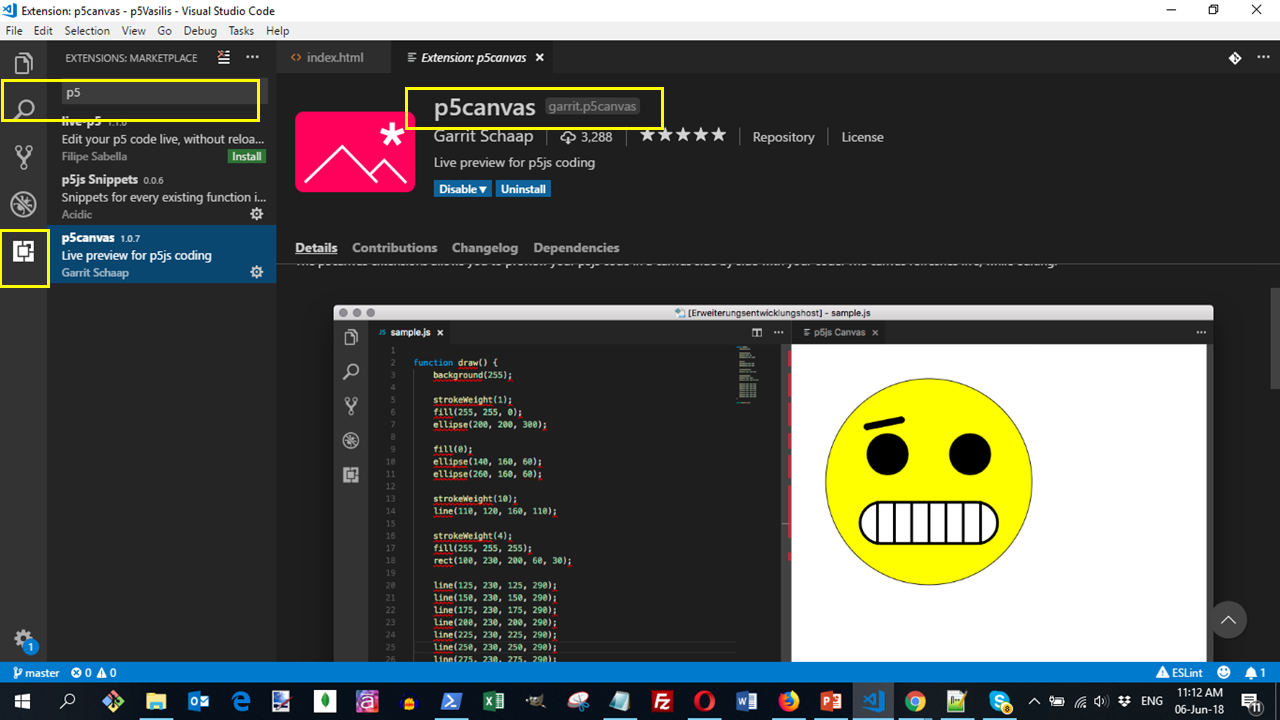
Open the exersice812.js and enable the p5Canvas live preview. Nothing happens!!
Copy the background('#31bc33') function from setup() to draw() to see live your code. The extension p5Canvas watches the changes in draw() function, not in the setup()!