3D modeling for real electronics
3D modeling for real electronics
Build your first interactive 3D prints.
5. Incorporating the cutout
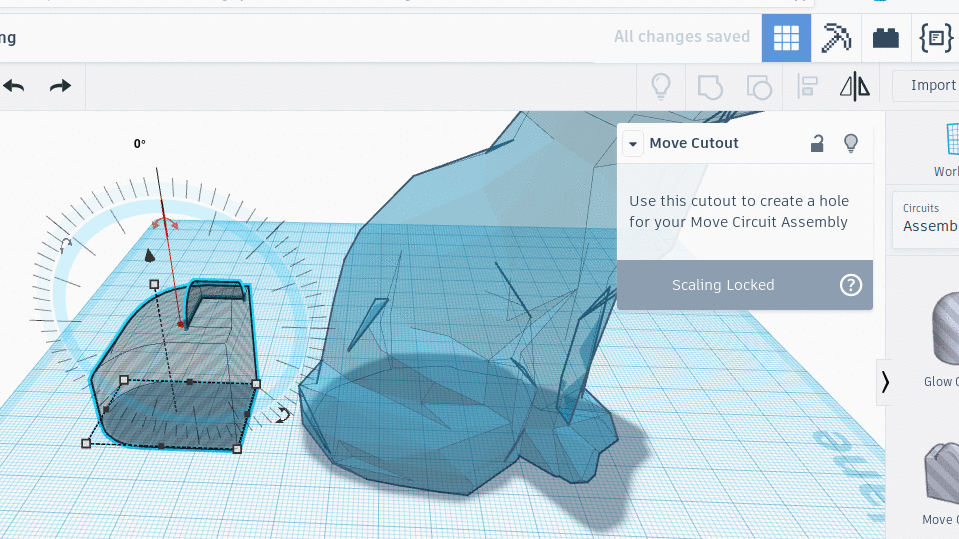
We then move the Cutout, so that it is completely inside the fox.


We need to check the bottom and side views to confirm that the Cutout is in the right position, and that it is not sticking out of any of the shape walls.
We also need to leave enough space for an adequate amount of printing
material between the Cutout and the outside of the shape (at least 3mm).
We will slightly enlarge the fox, just to be on the safe side.

We then make the fox shape a visible solid again by unchecking the Transparent box. Triple check from all angles that the Cutout is placed correctly!
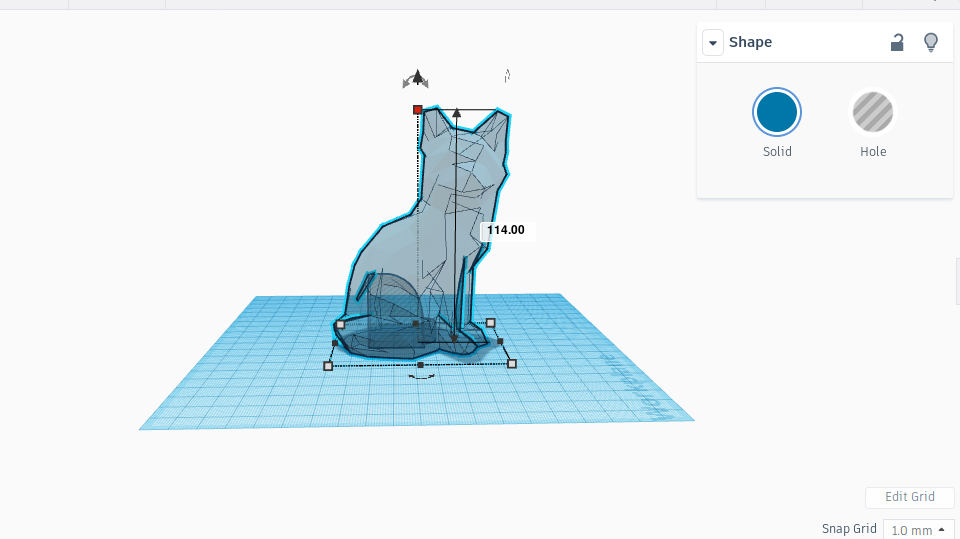
In order to select both shapes, we click and drag the cursor over the fox shape and the Cutout within it or hit Ctrl+A. Click on the Group icon in the upper right corner to remove the cutout shape from the main shape.

There should now be a hole in the design in the shape of the Cutout.