Meet the circuit
Meet the circuit
The foundation of all electronics projects.
5. Using the breadboard
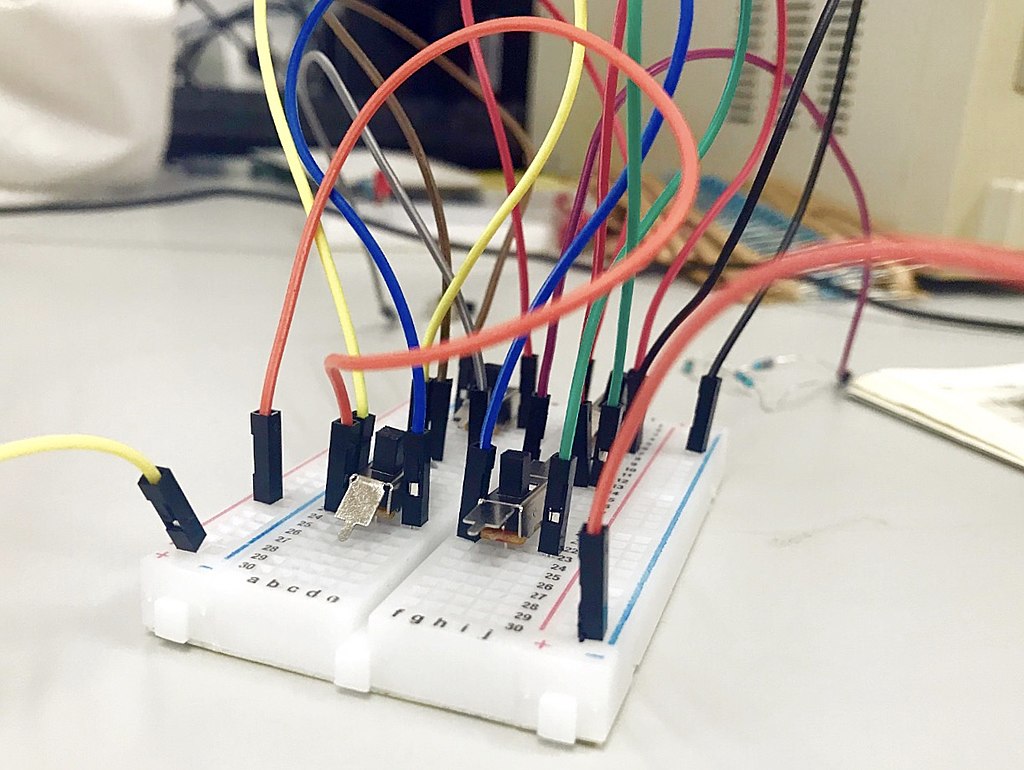
Now that we know which connections to make and how between parts, how do we build the circuit?
When there is a need to quickly and temporarily prototype a circuit, we will be using a breadboard.
Breadboards
are meant to make quick non-permanent connections between electronic
components. They are covered in tiny socket holes which are connected in
rows. The board itself is broken into four sections. There are two
inner sections full of short horizontal rows/bars, and two outer sections
with longer vertical rows/rails.
The inner sections are typically used
for connecting components, and the outer sections are typically used as
power bus lines. In other words, you can connect a battery to one of the
outer lines and then power components on the inner section by
connecting a wire to this section.
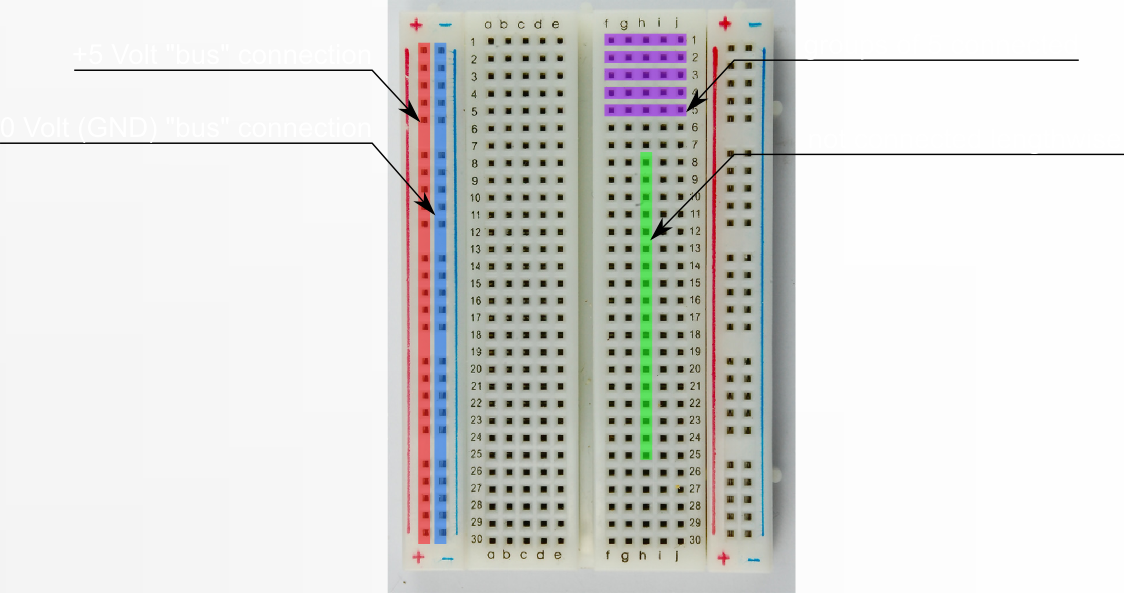
These are marked in red and blue and are meant to signify a row for power (red) and a row for ground (blue). Not all breadboards are marked with lines like this, but they are all laid out the same way.
To use a breadboard to prototype circuits, you simply insert components
or wire into the appropriate sockets to connect them together.