Book
Internet of Things
Internet of Things
Completion requirements
View
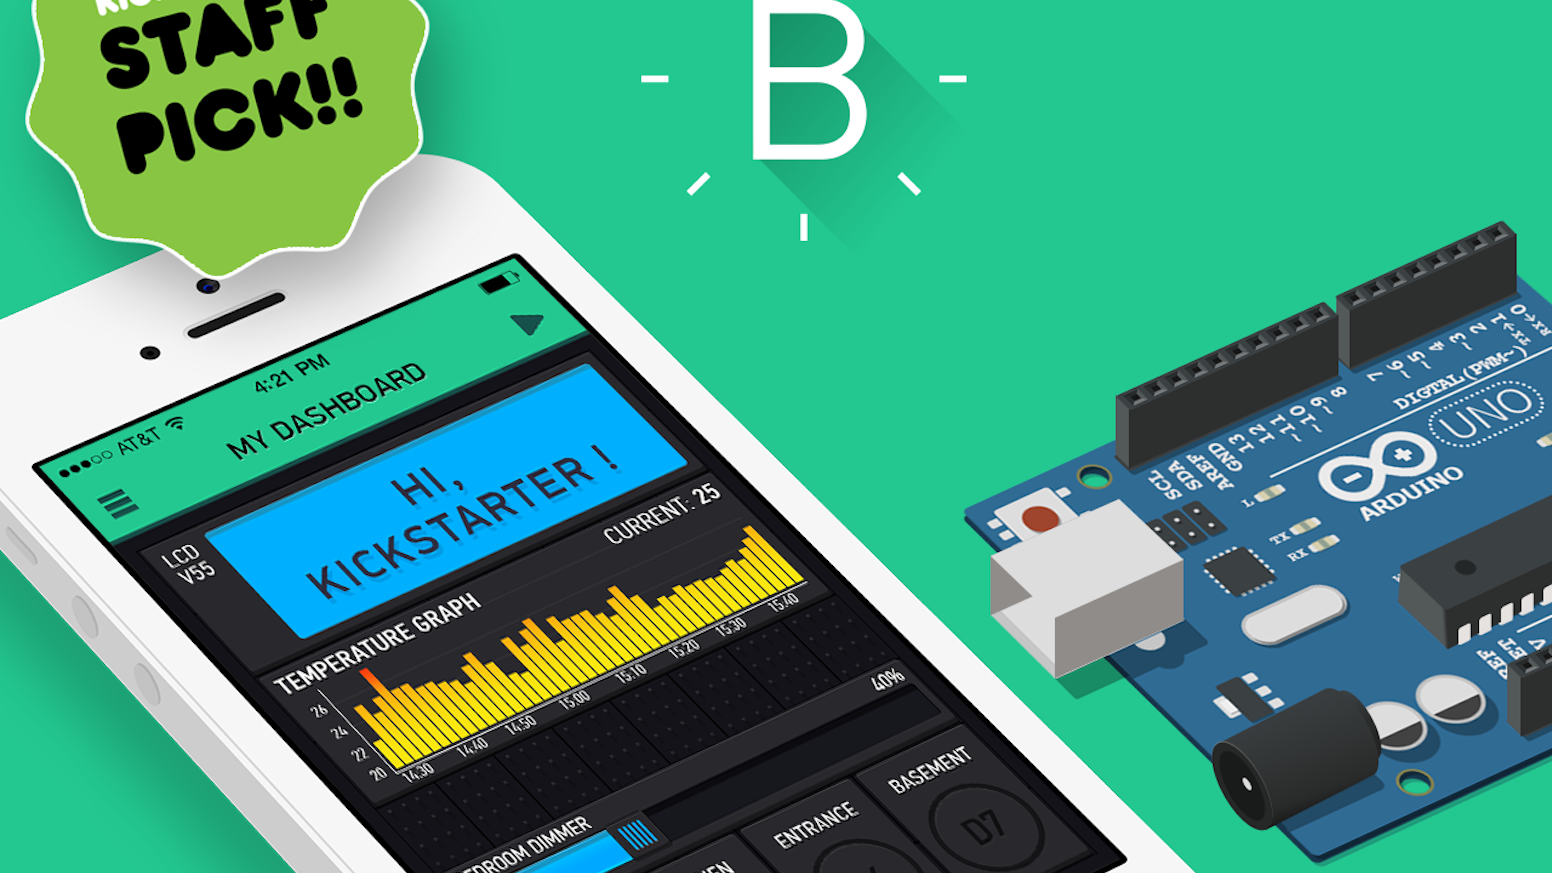
Interfacing with the NodeMCU and Blynk.
3. Your first Blynk+NodeMCU sketch
Creating a new project in Blynk
In this section we will learn how to control a remote device using the smartphone
At the beginning we usually plan and design our application, but we can modify or even change anything later. As a first application we will control an led that we will connect to our arduino IDE micro controller unit (MCU)
At the moment an email was sent to your account with the authentication token of the project but you can find it and copy it or resend it inside the menu project settings |


Inside the project
- Click on the plus sign
- Select Button
- Click on the button
- Click on PIN
- Select Digital and GP13
- Turn slider to switch
- Click on the back button


