Book
Day 6 - Section 1 - Sensing the light
Day 6 - Section 1 - Sensing the light
Completion requirements
View
After the completion of this section the students will be able to:
- describe and use a photoresistor
- build a circuit to sense and measure the light
- use the Serial Monitor inside the Arduino IDE
- visualize the light amount to values into the Serial Monitor
More or less light....
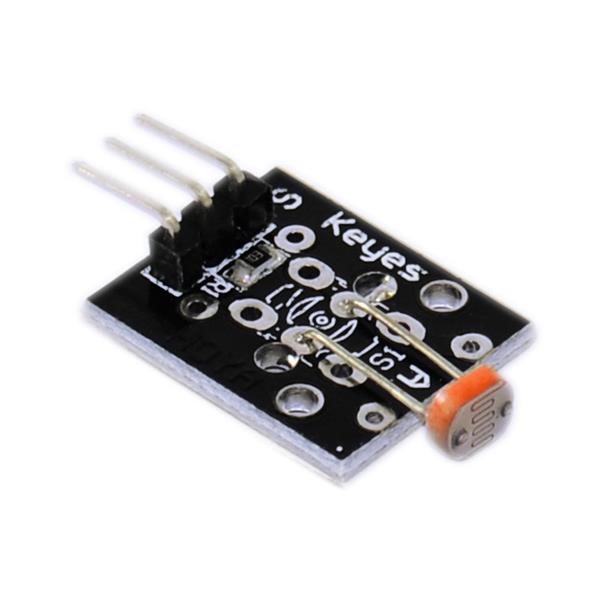
In this lesson, we 'll learn how we can measure the amount of light with the help an electronic device that is called 'photoresistor'.

It is a variable resistor that decreases its resistance when the light is passing through it. It is an analogue input device which means that we read not only two states (0 and 1) but many values between 0V and 3.3V or in case of Arduino IDE values between 0 and 1023 respectively.
So, how can we find the exact amount of light that passes through the device at any time using NodeMCU and Arduino IDE? The answer is "we can not do it using only these", but we can build a circuit that will help us watch the changes that the light causes, passing through the photoresistor. For the purposes of this experiment we have to build the following circuit.
 Our next challenge is to watch the changes of passing light on our screen. For this to be done we need the Arduino IDE's Serial monitor.

So, how can we find the exact amount of light that passes through the device at any time using NodeMCU and Arduino IDE? The answer is "we can not do it using only these", but we can build a circuit that will help us watch the changes that the light causes, passing through the photoresistor. For the purposes of this experiment we have to build the following circuit.