Book
Submodule 11.2: The Color in Gimp
Submodule 11.2: The Color in Gimp
Completion requirements
View
- The RGB color model
- The HSV color model
- Color picker - Color selectors
The RGB color model
We have already studied the RGB and RGBA models.
In the next module, we will learn how to compose an image from its R, G, B components, their channels as they are called in Gimp. Note that in Gimp the Red, Green, Blue channels are grayscaled.
Levels tool
The Level tool can modify the intensity range of the active layer/selection in every channel. This tool is used to change the contrast and make an image lighter or darker.
Let's correct the color cast of an image:
- The histogram shows us how many dark (left) pixels and how many bright pixels (right) are in the image.
- To add more bright pixels in the image, we drag the white slider at the end point of the histogram.
- When we move the black slider to the right we "clip" the dark pixels. The term "clip" means lose color information (although it may not be noticeable).
- We will repeat the same process for the histogram of each channel.
You can find the file of the video at: courseGimp>xcfFiles>image5.xcf
Exercise
- Open the "lake-3046965_1920.jpg" file in the folder "courseGimp>freeImages" with your Gimp and save it as
exersice11.2.01.xcfin the folder "courseGimp>exercises". - Open the "Levels tool".
- Modify and save the file. The new image should be as shown in the following image:
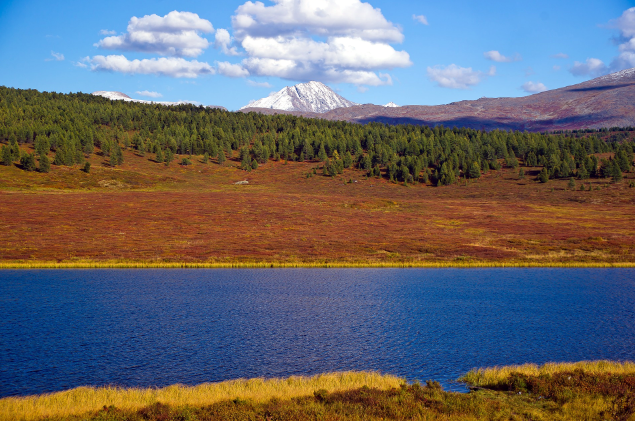
Red channel: black slider = 1, black slider = 225
Green channel: black slider = 19, black slider = 216
Blue channel: black slider = 1, black slider = 226